
Last updated September 20, 2026
Full 25-point door and opener safety check with every visit - springs, cables, rollers, tracks, and your LiftMaster or Chamberlain opener included
You get a price before we start. It does not change when the truck arrives.
 Before
 After
After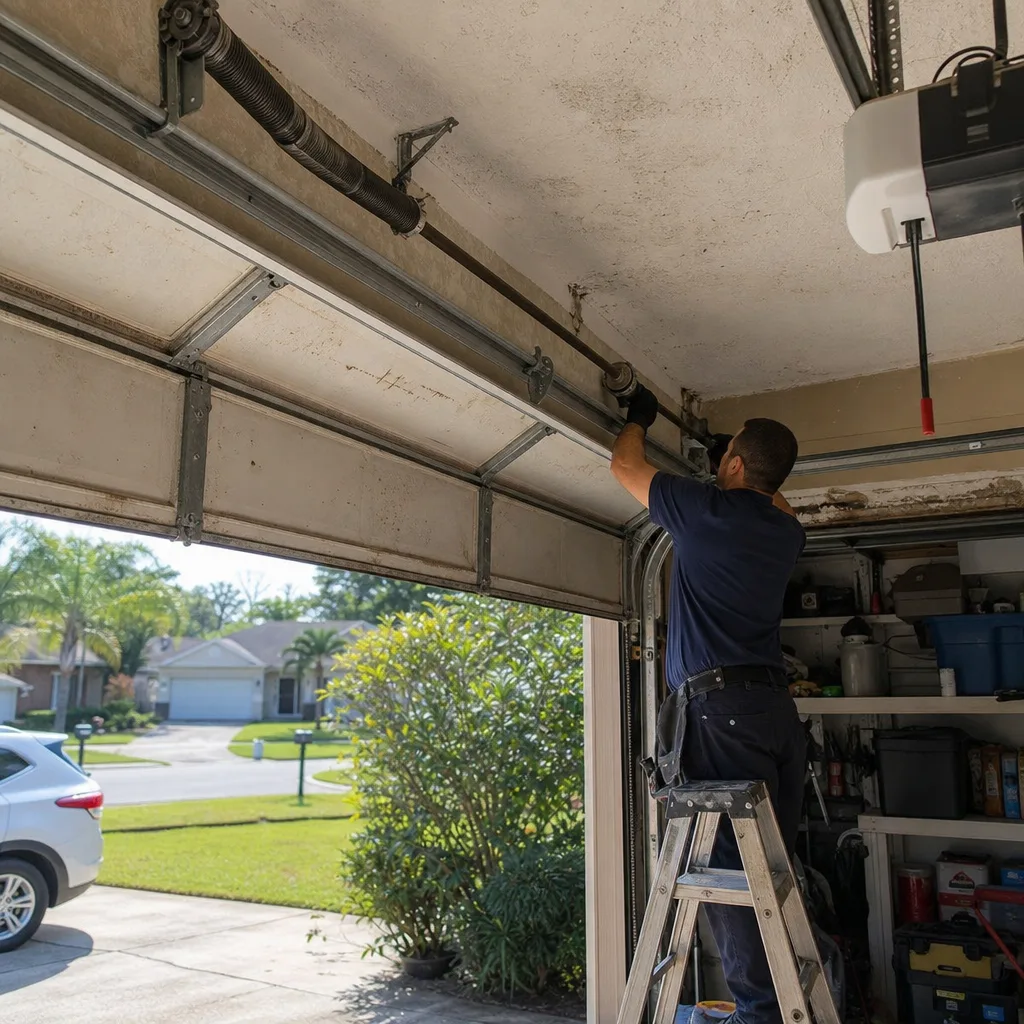 Before
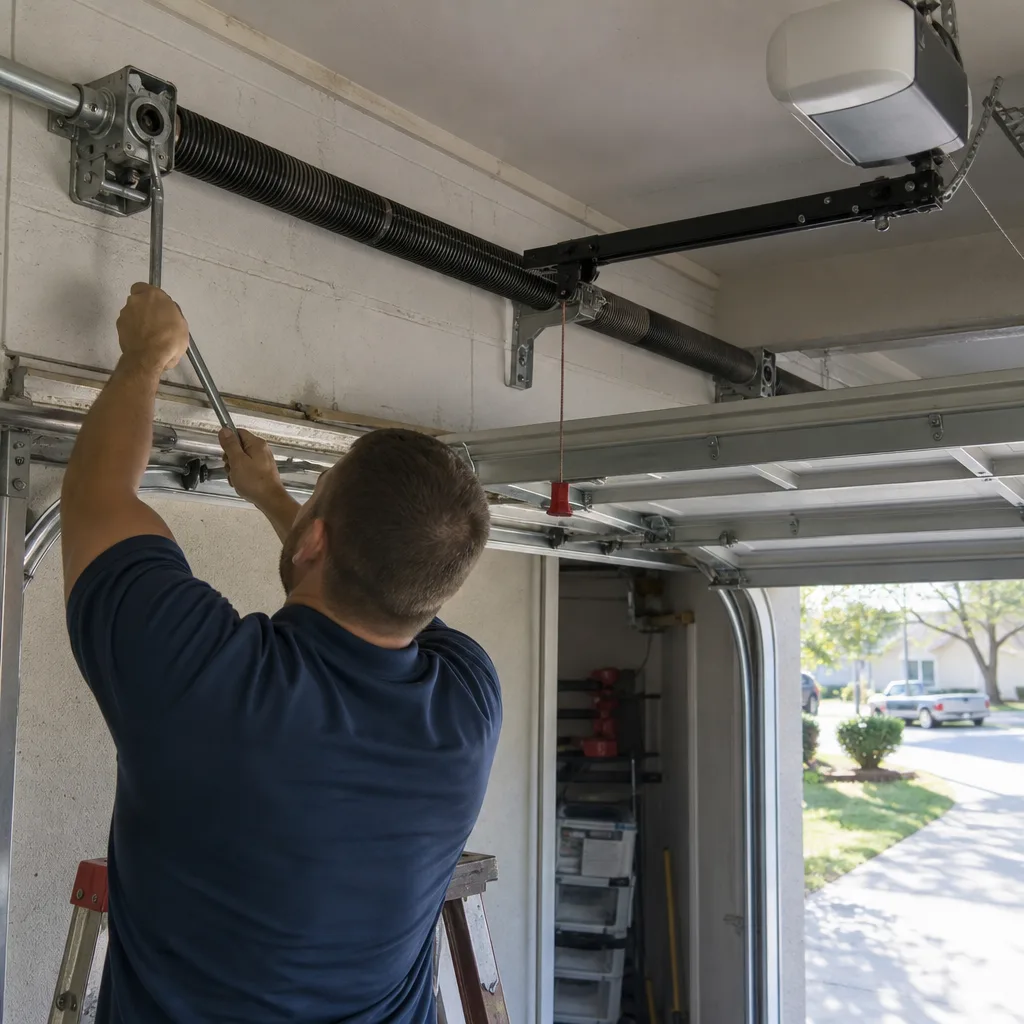 After
After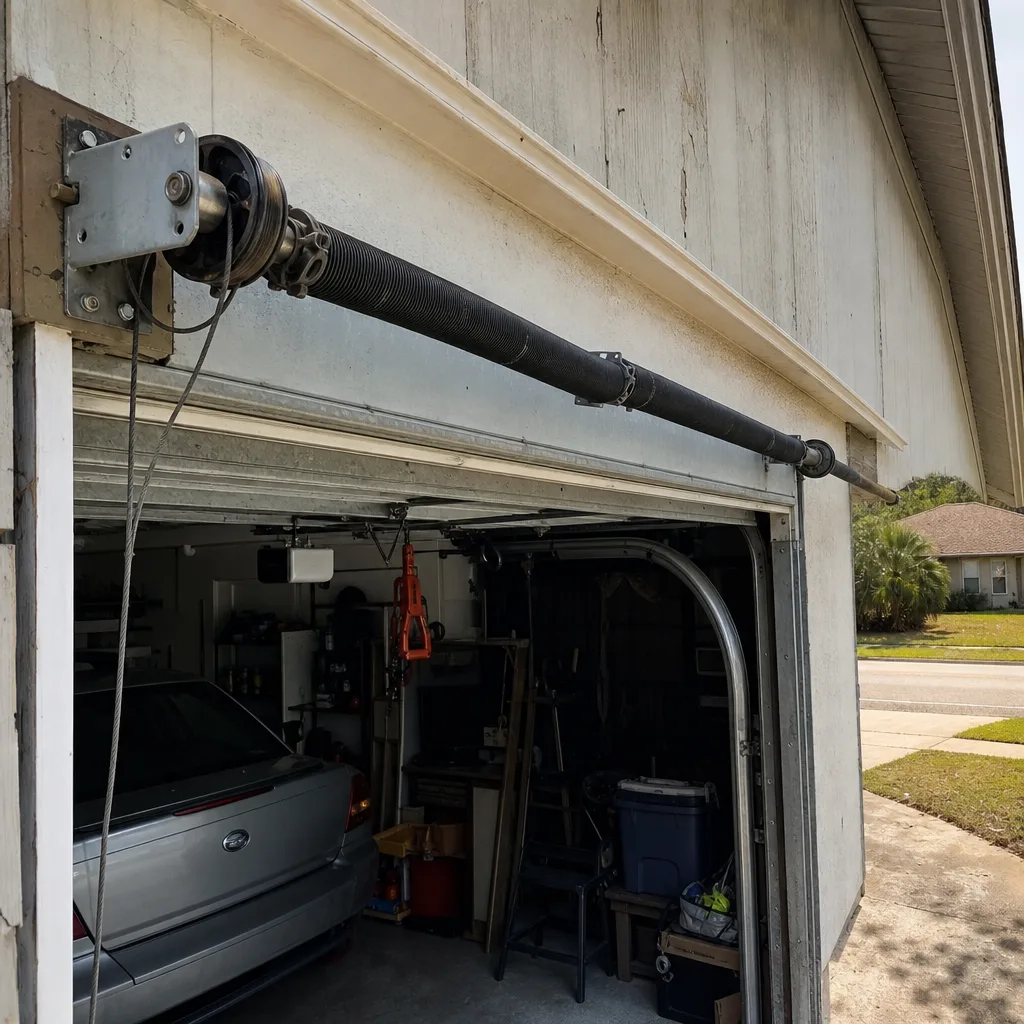 Before
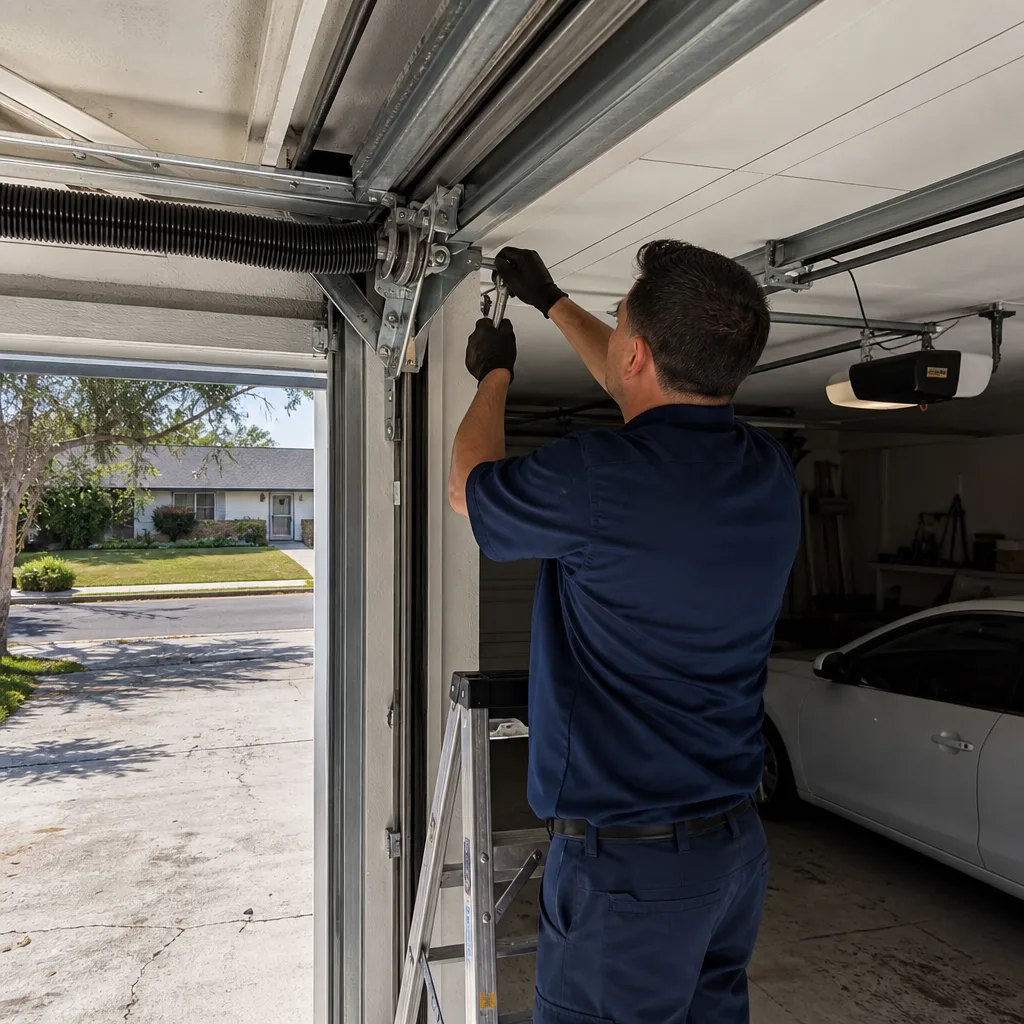 After
AfterGarage Door Repair Maintenance Checklist for Brandon Homeowners
Most garage door maintenance advice circulating online was written for Ohio basements and Arizona heat, not for a garage that breathes Tampa Bay humidity nine months a year. The standard guidance says to lubricate your springs twice a year, which would be fine if Brandon’s salt air and 70-percent average humidity didn’t accelerate metal fatigue faster than the national models account for. This checklist is different: every item pairs a simple pass/fail threshold with a real Brandon-market repair cost, so you’ll know whether what you’re looking at is routine or whether you’re about to spend $300 on Garage Door Repair. We’ll name the lubricants by product, explain what a failing safety reversal test actually means mechanically, and show you which maintenance tasks prevent the calls we take most often in this part of Hillsborough County.
Quick Answer
A useful garage door maintenance plan for Brandon FL involves six tasks performed every 90 days: lubricating torsion springs and rollers with a lithium-based spray, cleaning and clearing tracks, checking spring balance by hand-lifting the door, testing the auto-reverse safety sensors monthly, inspecting cables and hinges for fraying, and tightening hardware. Budget $40 to $90 per year in materials, or $180 to $600 per year if you prefer a documented professional inspection that includes adjustment and photo records. The critical difference from generic advice: in Brandon’s humidity cycle, spring lubrication should occur every 90 days, not twice per year.
Table of Contents
- Lubrication: Which Products to Use, Which to Avoid
- Spring Balance: The 3-Second Pass/Fail Test
- Rollers and Hinges: Measuring Wear at Home
- Cables and Tracks: What Good and Failing Look Like
- Safety Reversal Test: What Failure Means and What It Costs
- Brandon-Specific Intervals: Why Twice a Year Isn’t Enough
- Brandon-Market Cost Guide for Deferred Maintenance
- Common Mistakes to Avoid
- When to Call a Professional
- Frequently Asked Questions
BeforeAfterLubrication: Which Products to Use, Which to Avoid
Here’s the specific problem with the standard “lube your springs twice a year” advice: it doesn’t specify that WD-40 is a solvent, not a lubricant, and on torsion springs it strips the light factory coating that protects against surface rust. We’ve measured the results of that mistake in Brandon garages throughout Bloomingdale, Valrico, and FishHawk: a torsion spring that should have lasted 10,000 cycles breaks at 6,000 because the homeowner used a penetrant instead of a grease. The correct product for Brandon’s climate, where spring surface rust appears within weeks if unprotected, is a white lithium grease spray, not a liquid penetrant.
Here’s the full specification, component by component:
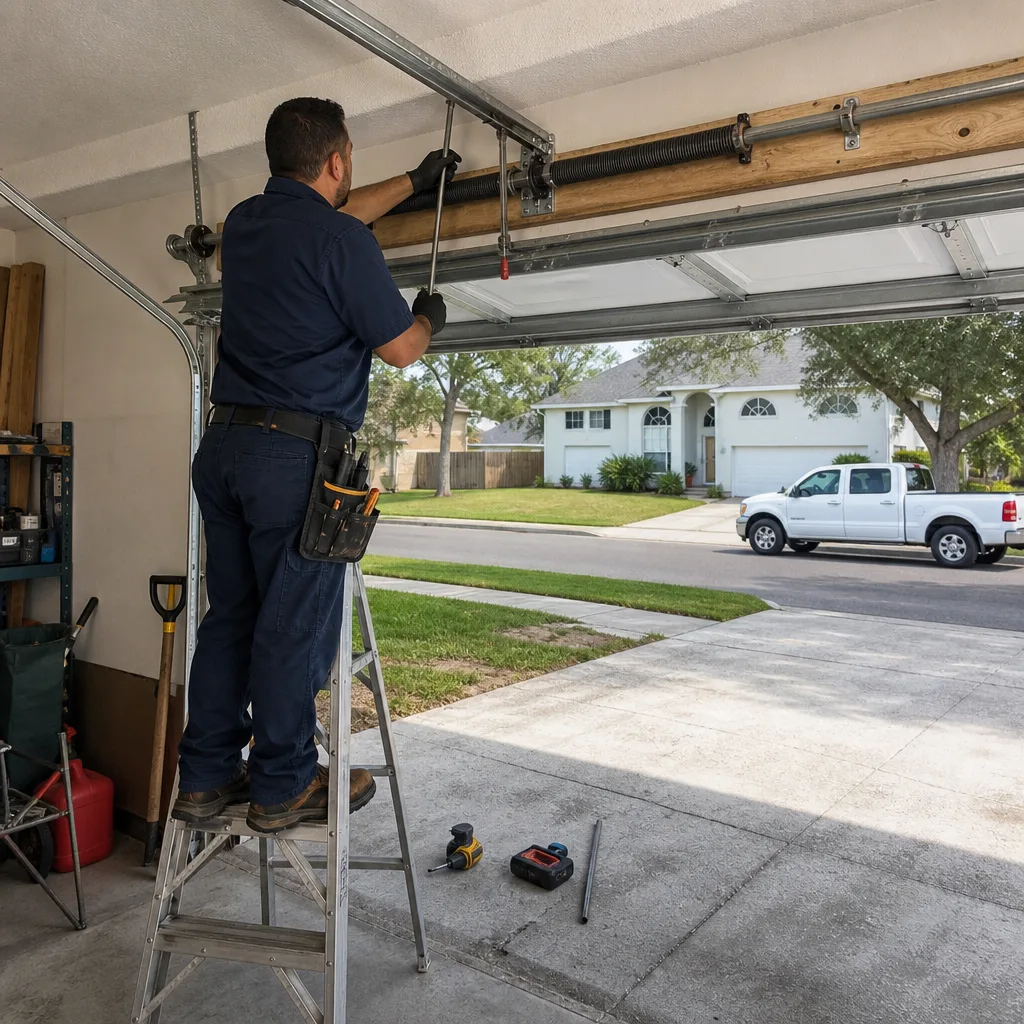
- Torsion springs: white lithium grease spray, applied lightly along the top of the coil while the door is closed. Product examples: WD-40 Specialist White Lithium Grease (the only WD-40 product we recommend for springs), 3-IN-ONE Professional Garage Door Lubricant, or Blaster Garage Door Lubricant. Apply every 90 days in Brandon due to humidity-driven surface oxidation.
- Rollers: silicone or lithium spray on the ball bearings, not on the wheel surface. Use a straw nozzle to hit the bearing on each side. If your rollers are nylon with no exposed bearing (common on Clopay and Wayne Dalton doors), lubricate the stem where it enters the hinge.
- Hinges: white lithium grease on each pivot point, including the top roller carrier hinges. Listen for a squeak that stops after application, then a smooth cycle.
- Tracks: do not lubricate tracks. Tracks are guides, not bearing surfaces. Grease on tracks collects Brandon’s fine road dust and turns to grit slurry that accelerates roller wear. Wipe tracks clean with a dry cloth instead.
- Lift cables: no lubrication, ever. Cables rely on friction contact with the drums; any lubricant reduces that grip and risks cable slip.
One more point that generic advice omits: after lubricating, run the door through two full open-close cycles and look for drips. Excess grease on a torsion spring will fling onto the ceiling, the car, or the door surface when the spring winds and unwinds. A light, even coat is the standard. If you prefer not to handle the spring area at all and want a documented lubrication performed as part of a full inspection, Garage Door Repair in Brandon includes it on every visit.
Spring Balance: The 3-Second Pass/Fail Test
A balanced garage door is one that a properly adjusted torsion or extension spring holds at any point in its travel without the opener’s force. The test takes three seconds and tells you more than any visual inspection: pull the red release handle to disconnect the opener, then lift the door manually to about waist height. If the door stays put or drifts only an inch in several seconds, the springs are in range. If it falls, the springs have lost tension, which means either worn coils or a spring that is about to break. If it rises on its own, the springs are over-tensioned, which forces the opener to work against extra load on every down cycle.
In Brandon, we see more imbalance due to moisture-related spring fatigue than any other factor. A torsion spring’s wire diameter is measured by the manufacturer to produce a specific pounds-per-inch rate. As surface corrosion penetrates the coil, the effective diameter reduces by thousandths of an inch, but over time that shifts the lift curve. By the time the homeowner notices, the door is drifting downward when stopped, which puts the opener’s limit switch and logic board under load they were not designed to handle.
What the pass/fail threshold looks like in practice:
- Disconnect the opener with the door closed.
- Lift the door to waist height.
- Release. Watch for 3 seconds.
- Pass: door drifts less than 1 inch. Fail: door drifts more than 1 inch or falls noticeably.
If the door fails, do not continue using the opener. A failing spring makes the opener’s motor work harder, which shortens its life and in some cases pulls the trolley carriage off the rail. The replacement path for a standard 0.207-by-2-by-24-inch torsion spring pair in the Brandon market runs $180 to $320 installed, including springs and a re-balance. A full breakdown of what affects that range is on our Brandon garage door repair pricing page, but the short version is this: you want the spring pair quoted with a written, flat price before any work starts, and you want a photo of the failed spring first.
Rollers and Hinges: Measuring Wear at Home
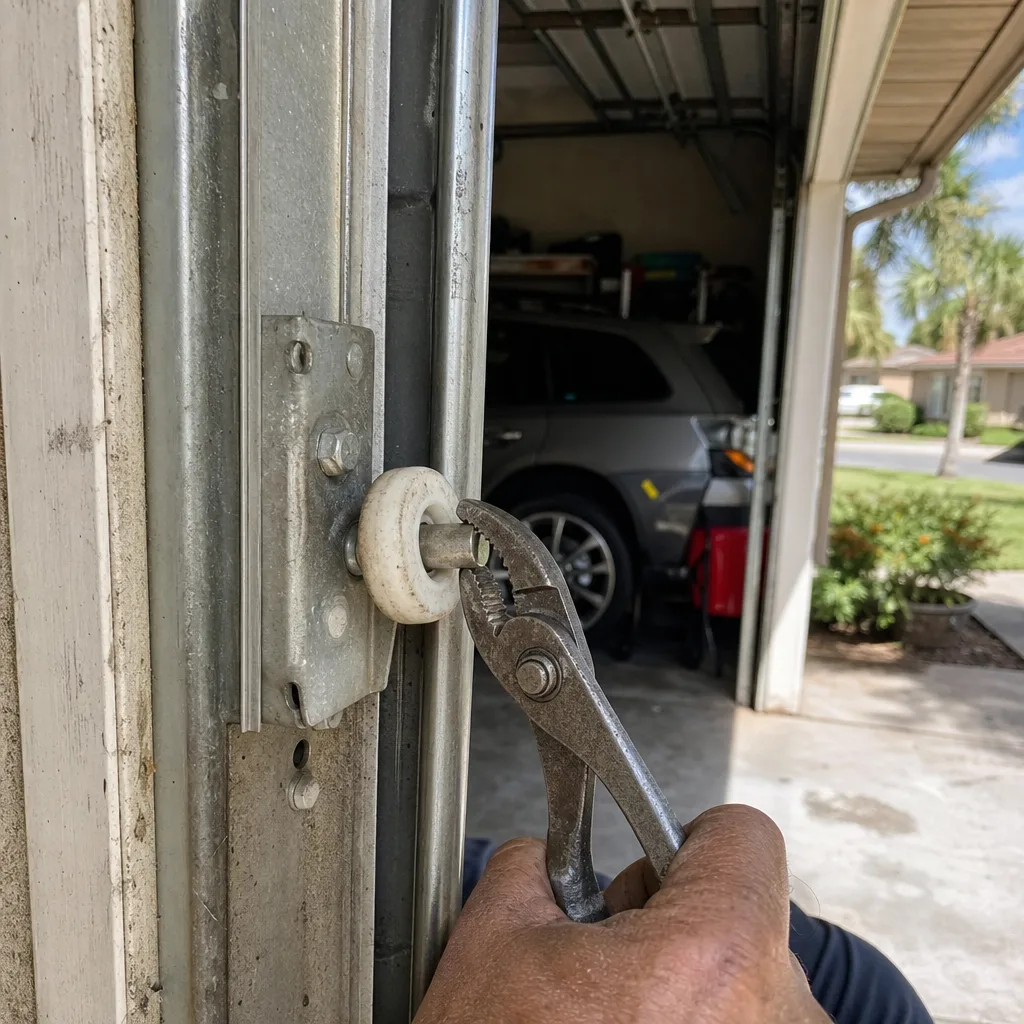
Rollers are the second most common deferred-maintenance failure we document in Brandon, after springs. The standard advice is “check for wear,” which doesn’t tell you what wear looks like from a ladder. Here’s the measurement that matters: nylon rollers have a visible tire thickness around the bearing. When that tire is worn to less than 1/8 inch at any point, or you see a flat spot, the roller is done. Steel rollers wear at the bearing race, which shows as a wobble when you spin the roller with the door down.
Brandon’s humidity enters here through the bearing, not the wheel surface. Unsealed steel bearings oxidize, and then the roller stops spinning and starts sliding along the track. The visual tell is a metallic streak on the inside face of the vertical track. Once that streak appears, the roller is scraping instead of rolling, which means the track surface is wearing too. Replacing the roller set before the track wears through the face saves you from a full track replacement, which can exceed $400 in this market.
What to check on hinges: each hinge is stamped with a number from 1 to 4, and each number has a specific shape that matches the door’s graduated profile. Hinge failure in Brandon rarely begins at the pivot pin; it begins at the door connection point, where the hinge meets the stile. The screws back out slightly from the torsion cycles, then wallow out the hole in the steel stile. You’ll see a visible gap between the hinge plate and the door skin, usually with a rust stain around the screw head.
Pass/fail thresholds:
- Roller tire: 1/8 inch minimum thickness on nylon. Less is fail.
- Roller bearing: spins freely with no lateral play when wiggled side to side. Wobble is fail.
- Hinge plate: flush against the door skin, no gap, no rust weeping from screw holes. Gap is fail.
- Track face: no bright metal streak from roller contact. Streak is a warning sign.
Roller replacement in Brandon runs $90 to $160 for a full set of 10 to 12 rollers with nylon tread and sealed bearings, labor included. Hinge replacement is $20 to $40 per hinge depending on position. Both are work we recommend doing as a set rather than one roller at a time: a brand-new roller next to a worn one transfers uneven load to the better roller and shortens its life.
Cables and Tracks: What Good and Failing Look Like
Lift cables are the component most likely to be overlooked on a DIY checklist because they’re difficult to see without stepping back and looking along the vertical track line. A good cable is wound tight on the drum with no gaps between wraps, no birdcaging (individual wire strands separating from the main strand), and no visible oxidation change along the length. In Brandon’s climate, cable rust appears first at the bottom bracket, where water wicks up from the floor during the summer storm season.
The failure we see most often in Brandon is not a spectacular cable break but a jammed or frayed cable at the bottom bracket. When the cable carries rust from the floor contact point, it swells, and a swollen cable can’t travel through the drum’s groove cleanly. It then jumps the drum and wraps unevenly, which pulls the door out of level. This shows up as a door that sits visibly lower on one side when closed. A cable replacement in this market runs $75 to $150 per side, installed, and if the drum was scored by the jumped cable, you’re looking at another $60 to $90 per drum.
Pass/fail thresholds for cables:
- Wraps: even, tight, no overlapping coil in the drum groove. Uneven wrap is fail.
- Strands: none visible as separated or lifted from the main cable body. Any fray is fail.
- Bottom bracket: cable seated fully in the bracket slot, no rust weeping at the swage. Rust at the bracket is a warning that replacement is near.
- Door level at rest: measure gap between bottom edge and floor on both sides. More than 1/4-inch difference is fail.
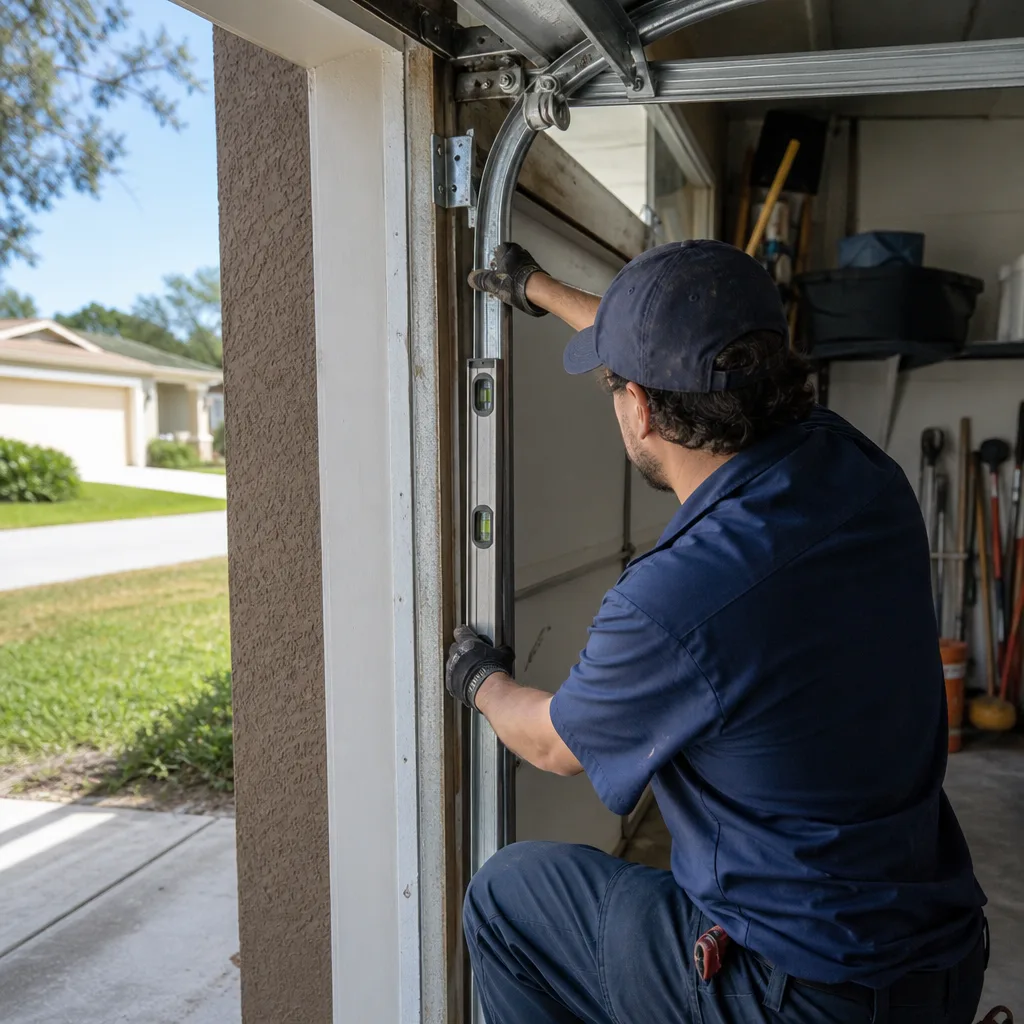
Tracks need no special treatment beyond checking that the vertical sections are plumb and the horizontal sections slope gently upward away from the door opening. In Brandon’s sandy topsoil, track contamination is common on the bottom two feet where rain splashes deposited grit and road film. A track that’s slightly out of plumb is an adjustment task, $50 to $90 with a service call. A track severely bent from impact or cable failure often needs replacement at $120 to $200 per section.
One note for homeowners with LiftMaster openers and wall-mounted units: the cable tension monitor on some models will signal an imbalance before you see it. That signal is a diagnostic, not the problem itself. The fix is still at the cable and spring level, so treat the opener’s error code as an early-warning caller, not a component failure.
Safety Reversal Test: What Failure Means and What It Costs
Since 1993, every automatic garage door opener installed in the United States has been required to include two safety systems: an auto-reverse mechanism on the motor that detects resistance, and a photo-eye sensor pair mounted 6 inches off the floor. The test is simple: place a 2×4 or similar object flat on the floor under the door’s path, then close the door. The door must reverse within two seconds of contacting the object and return to the open position. If it doesn’t, the system has failed.
What a failed test means mechanically depends on which system is at fault. If the door hits the 2×4 and doesn’t reverse, and you didn’t hear the motor’s force-setting change, the auto-reverse force limit is set too high, which is an opener adjustment. That’s a $60 to $90 service call in Brandon, and a good opener technician will verify the setting with a force gauge rather than just dialing it back. If the door starts to close and then immediately reverses without touching the 2×4, the photo-eye beam is broken, which points to misaligned sensors, a wiring fault, or a bad receiver unit. In most cases around here, misalignment is the cause: humidity shifts the sensor brackets on the wall mounting over time, and the beam drifts off target.
The repair path for a failed safety reversal test is one of the lowest-cost fixes in this guide, but one of the highest-stakes. The auto-reverse mechanism is the only thing between your door and a child, pet, or car when the opener is misadjusted. If the simple adjustments don’t clear the failure, you may be looking at a replacement logic board, which for a Craftsman or Chamberlain opener runs $120 to $220 installed, or a full opener replacement at $400 to $800 depending on model. For Garage Door Warning Signs: A Brandon Homeowner’s Reference Guide on spotting these issues early, see our dedicated resource.
Brandon-Specific Intervals: Why Twice a Year Isn’t Enough
The national maintenance interval recommendation assumes an average climate: moderate humidity, no salt air influence, a winter that actually dries things out. Brandon gets none of those benefits. The average relative humidity in Brandon runs close to 75 percent from May through November, and the garage door sits right at the interface between that moist air and the air-conditioned garage interior, which is usually 20 degrees cooler. That temperature differential causes condensation on the internal door components, particularly the torsion spring and the lower track sections.
We’ve documented spring surface rust appearing in as little as 60 days after a fresh lubricant application during the summer months. That’s the data point that drives the recommendation you’ll see in this guide: lubricate every 90 days, not twice a year. It’s a small time cost (10 minutes) that doubles the expected service life of the spring set. In a market where a spring break costs $180 to $320, the annualized cost of the preventive work is about $15 in lubricant.
The deeper issue is that once oxidation starts, it compounds. Rust is absorbent, holding moisture against the steel and pitting the surface. Each pit is a stress concentration point where a micro-crack starts, and torsion springs fail by fatigue crack propagation. The spring doesn’t rust through; it develops a crack at a corrosion pit and breaks cleanly, usually overnight when the door is closed and the temperature drops. We see a cluster of these failures every October and April in Brandon, when the first and last cold fronts of the season swing through and the overnight low drops 15 degrees while the afternoon humidity stays high.
Here’s the interval set we use for Brandon, adjusted from the national baseline:
- Every 90 days: lubricate torsion springs and roller bearings; check balance with the 3-second test; inspect cables for rust at bottom brackets.
- Every 6 months: full safety reversal test with a 2×4; tighten hinge and bracket screws; check tracks for grime and oil accumulation.
- Every 12 months: test force setting on opener; inspect all 10 to 12 rollers individually for tire wear; evaluate spring coils for surface pitting.
- After any severe storm: check door level at rest, track plumb, and cable wrap before running the opener again.
This schedule works for doors in the Brandon neighborhoods we cover most: FishHawk, Valrico, Bloomingdale, Lithia, Riverview, and inner Brandon. Homes built after 2010 tend to have thicker insulation in the garage ceiling and tighter envelope, but the door components are identical in material and exposure. The interval adjustments apply equally; what changes is only how fast the condensation cycle runs.
Brandon-Market Cost Guide for Deferred Maintenance
Every item on this checklist has a failure cost, and knowing that number before something breaks changes the calculus of deferral. In Brandon, the repair market is competitive enough that prices cluster within a predictable range. Here’s what we document in this market, as of the current season:
| Checklist Item | Failure Result | Brandon-Market Repair Cost |
|---|---|---|
| Torsion spring lubrication (90-day) | Spring breaks from corrosion pitting | $180 to $320 per pair |
| Roller bearing check | Roller seizes, track wears, roller set fails | $90 to $160 full set |
| Cable inspection | Cable frays, jumps drum, door jams unequally | $75 to $150 per side |
| Safety reversal test | Door fails to reverse, injury or property damage risk | $60 to $90 adjustment; $120 to $220 board |
| Hinge screw tightening | Hinge pulls from stile, door binds | $20 to $40 per hinge |
| Track inspection | Bent track from cable failure or impact | $50 to $90 adjustment; $120 to $200 section |
Worth saying plainly: those ranges are for a standard 16×7 residential door in the Brandon metro. If your door is a custom size, a wood overlay, or a high-cycle commercial spring application, the material costs shift upward. And any quote that arrives without a written, flat price before work starts should be treated as an estimate, not a quote. The distinction matters: Clause 1 of The Haven Standard is a written price and written scope delivered before any work begins, which is why our price is on the page, not “call for a quote.” For guidance on vetting contractors, read How to Hire a Garage Door Contractor in Brandon: A Step-by-Step Guide.
If you’re shopping a repair on deferred maintenance and already have a written estimate from another Brandon company, the Free Second Opinion offer applies: bring the paperwork, and we’ll give you a written, evidence-based read on it. No coupon, no code, no obligation.
Common Mistakes to Avoid
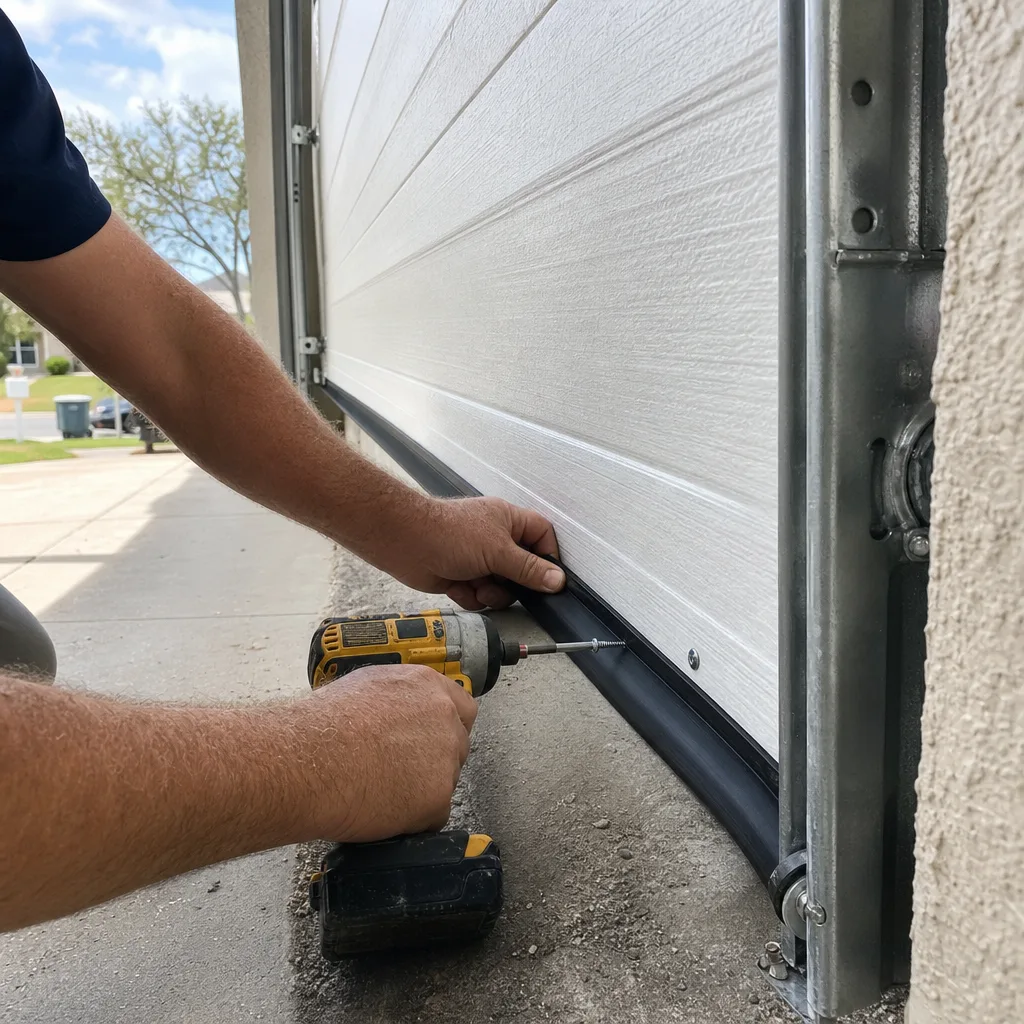
- Using WD-40 on torsion springs. It strips the protective coating and accelerates surface rust, which is the primary cause of premature spring failure in Brandon’s humidity. Use white lithium grease instead.
- Lubricating the track instead of the roller bearings. Tracks are guides, and grease on the track surface attracts Brandon’s grit and sand, turning to an abrasive slurry that wears the track and roller together.
- Skipping the spring balance test because “the opener still opens it.” The opener masks spring failure by pulling harder, but every cycle shortens the opener’s motor and logic board life. A failing spring is the leading cause of premature opener failure we see in Brandon.
- Waiting until the door is visibly misaligned to check cables. Cable fray starts at the bottom bracket and is invisible from inside the garage at eye level. By the time the door hangs unevenly, the cable has already jumped the drum and the damage is done.
- Reusing the old hinge screws when tightening. Once a hinge screw has wallowed its hole, the original screw won’t hold. You need a slightly larger-diameter self-tapping screw, and the hinge should be checked for plate deformation.
- Ignoring the safety reversal test because the door “feels fine.” The auto-reverse mechanism fails silently: you won’t know until something is in the door’s path. The 2×4 test takes 30 seconds and costs nothing.
When to Call a Professional
There are four moments where a Brandon homeowner should stop the DIY maintenance and call a technician. First, if the spring balance test fails and the door drifts more than an inch. Second, if you see visible cable fray anywhere along the vertical track, because a loaded cable under tension is dangerous to handle. Third, if a safety reversal test fails after you’ve checked the photo-eye alignment and the obstruction. Fourth, if you hear a grinding or chattering sound from the opener’s gear assembly, which indicates a stripped gear or worn sprocket that won’t resolve with lubrication. Our Garage Door Opener Repair & Installation in Brandon service covers that last category. Servo Garage Doors Brandon offers free estimates throughout Brandon and the surrounding area. Call (656) 216-3212 and you’ll get a live person, not a recording.
Frequently Asked Questions
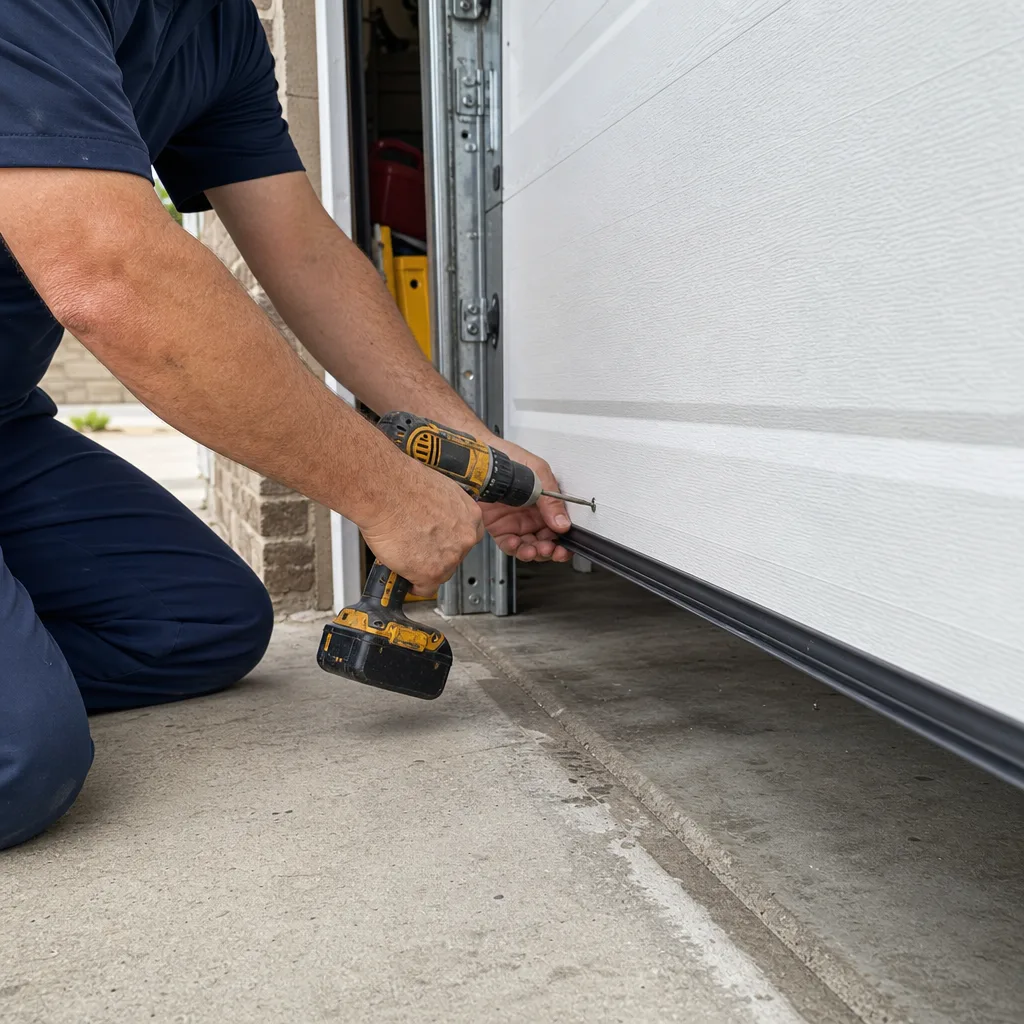
For a homeowner doing it themselves, materials run $40 to $90 per year for lithium grease spray and replacement items like rollers or hinge screws. For a professional inspection with lubrication, adjustment, and a written record, expect $180 to $600 per year depending on the number of components replaced. The correct number for your home is determined by what the inspection finds and is always quoted as a flat, written price before any work starts.
Every 90 days. Brandon’s humidity drives surface rust formation on torsion springs faster than the national average, and a 90-day interval puts fresh protective grease on the spring before oxidation gains a foothold. Use a white lithium grease, not a penetrant.
Yes. Place a 2×4 flat on the floor under the door’s closing path, and close the door. It must reverse within two seconds of contact. If it doesn’t, check the photo-eye alignment and the force setting on the opener. If those don’t fix it, call a professional: a failed safety reversal is a high-stakes item.
A standard torsion spring pair for a 16×7 door in Brandon runs $180 to $320 installed. The price depends on spring wire diameter, cycle rating, and whether the door requires a standard or high-cycle spring. The quote should always be written and flat before work begins.
An uneven door at rest most often indicates a cable problem: either a stretched cable, a frayed cable that jumped the drum, or a spring pair out of balance. Check the cable wrap on the drum for gaps or overlaps, and measure the gap under the door on both sides. If the difference is more than 1/4 inch, schedule an inspection.
A standard 10,000-cycle torsion spring pair lasts 7 to 10 years under Brandon conditions if lubricated every 90 days. Without that maintenance, lifespan drops to 4 to 6 years due to corrosion pitting. High-cycle springs rated for 20,000 to 30,000 cycles last 14 to 20 years with regular lubrication, but the recommendation for most Brandon homes is the 10,000-cycle standard with proper maintenance.
The Bottom Line
A garage door maintenance checklist only earns its keep if it tells you what failure looks like and what it costs, not just what to glance at. This guide gives you the pass/fail thresholds that matter: the 3-second spring balance test, the 1/8-inch roller tire minimum, the 1/4-inch door-level tolerance, and the 2-second auto-reverse requirement. In Brandon’s humidity, the 90-day lubrication interval is the single highest-value habit you can adopt, and it costs less than $15 a year. For everything that fails, the price ranges are on this page, quoted as Brandon-market dollars. Servo Garage Doors Brandon has been documenting both failures and fixes in this market since 2015, and we give you the written price and the photo record before you commit to anything. Explore our more guides & resources for additional homeowner support. If you’d rather hand the whole checklist to someone who does it every day, call (656) 216-3212 and we’ll schedule a documented inspection with a flat, written quote before any work begins.
Written by Marcus Deller, Owner at Servo Garage Doors Brandon, serving Brandon since 2015.