
Last updated September 20, 2026
Full 25-point door and opener safety check with every visit - springs, cables, rollers, tracks, and your LiftMaster or Chamberlain opener included
You get a price before we start. It does not change when the truck arrives.
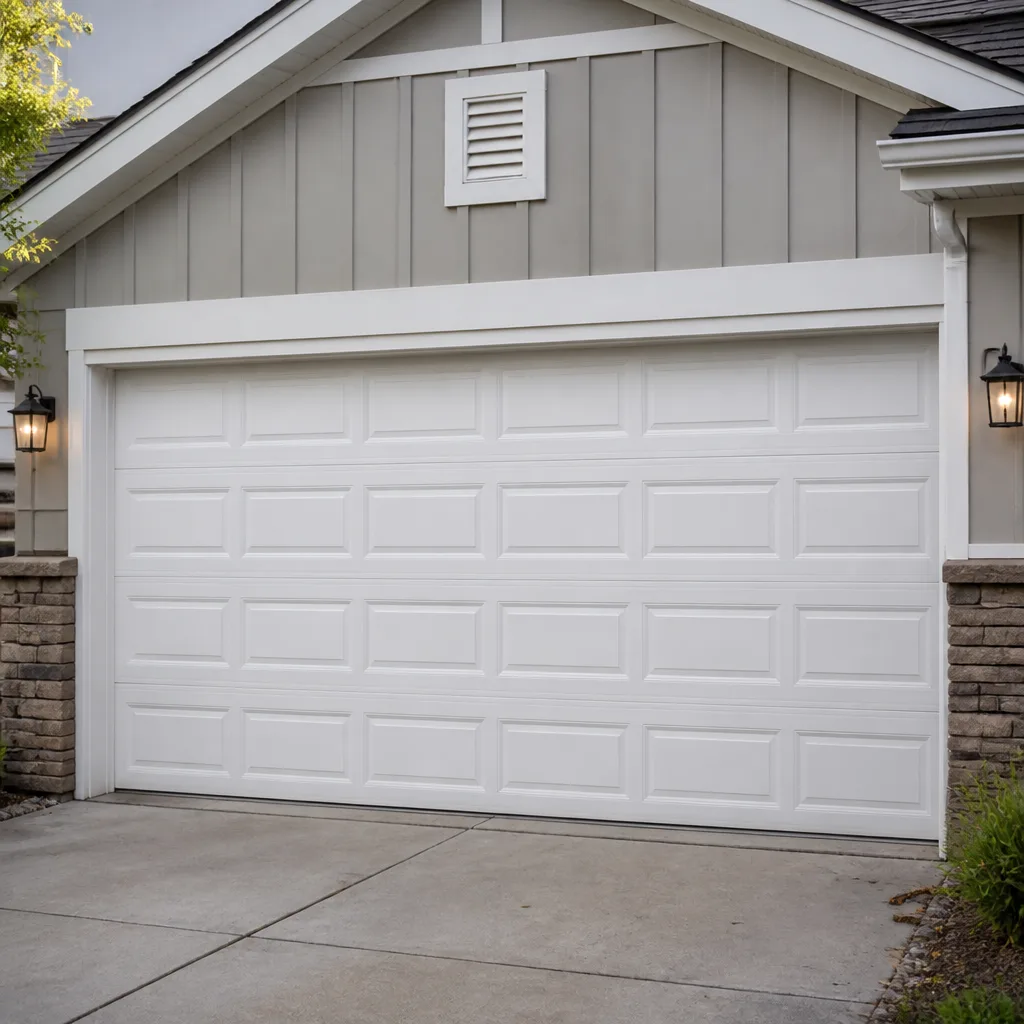
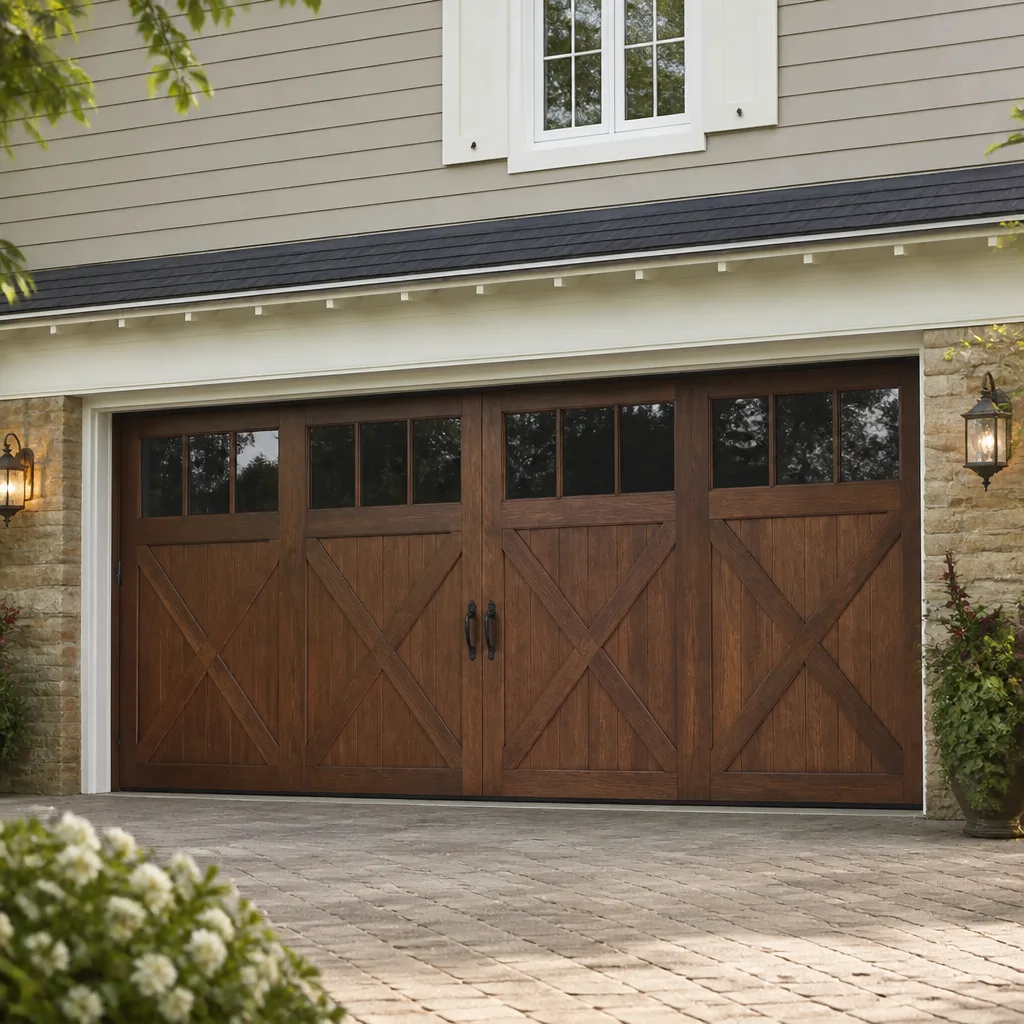
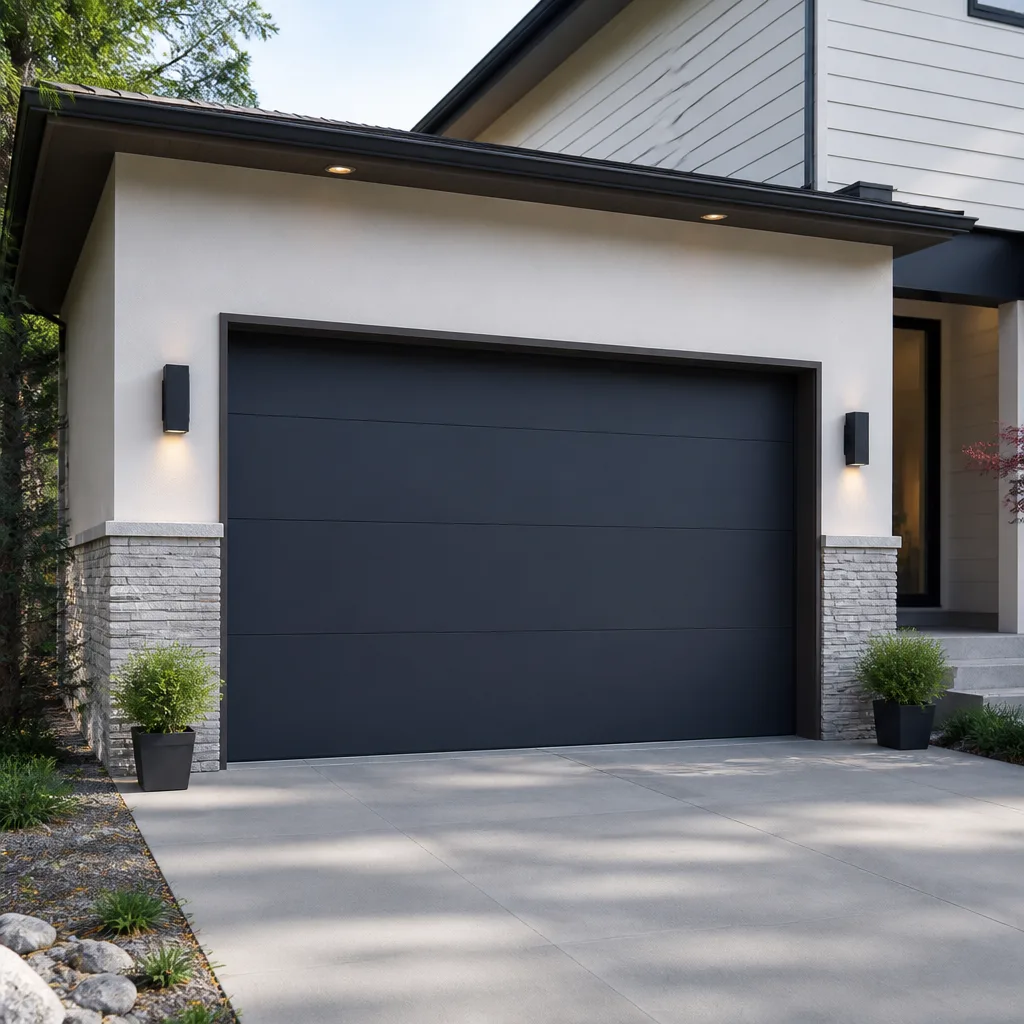
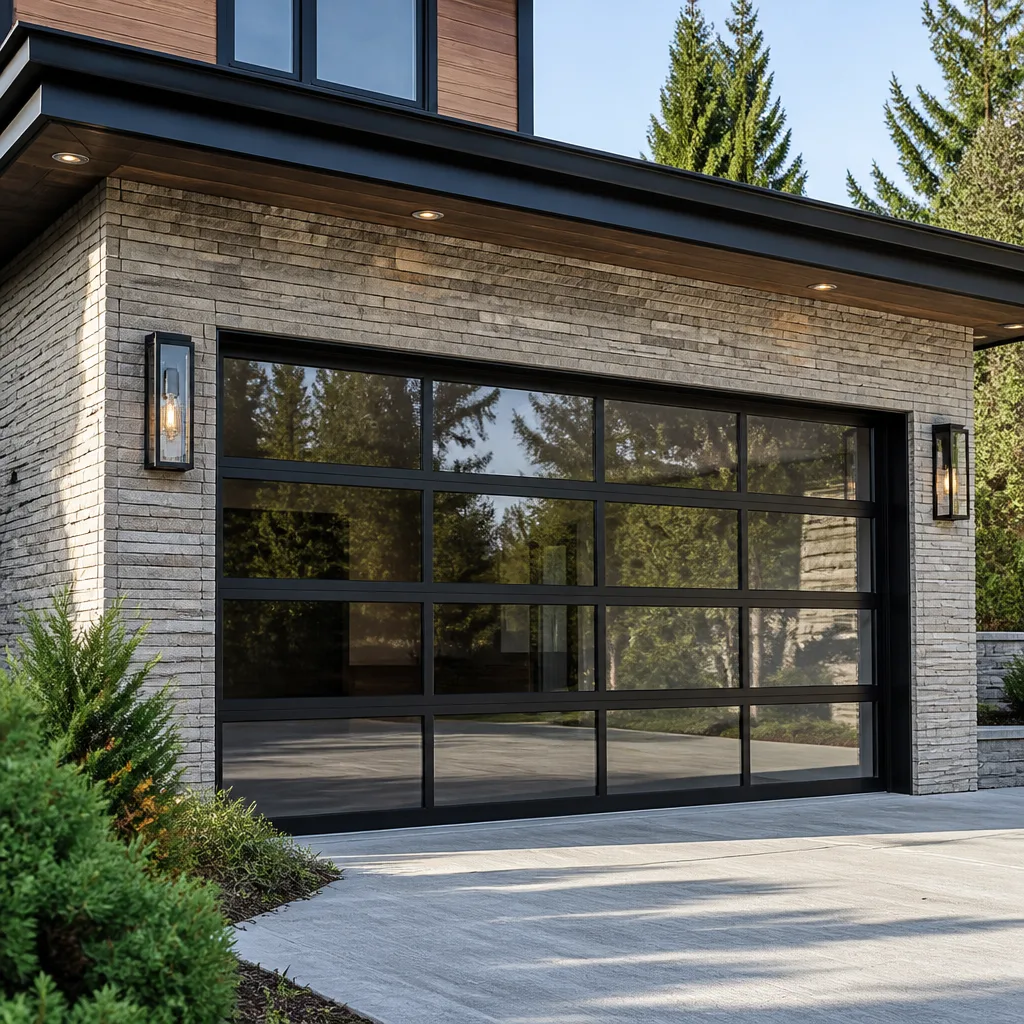
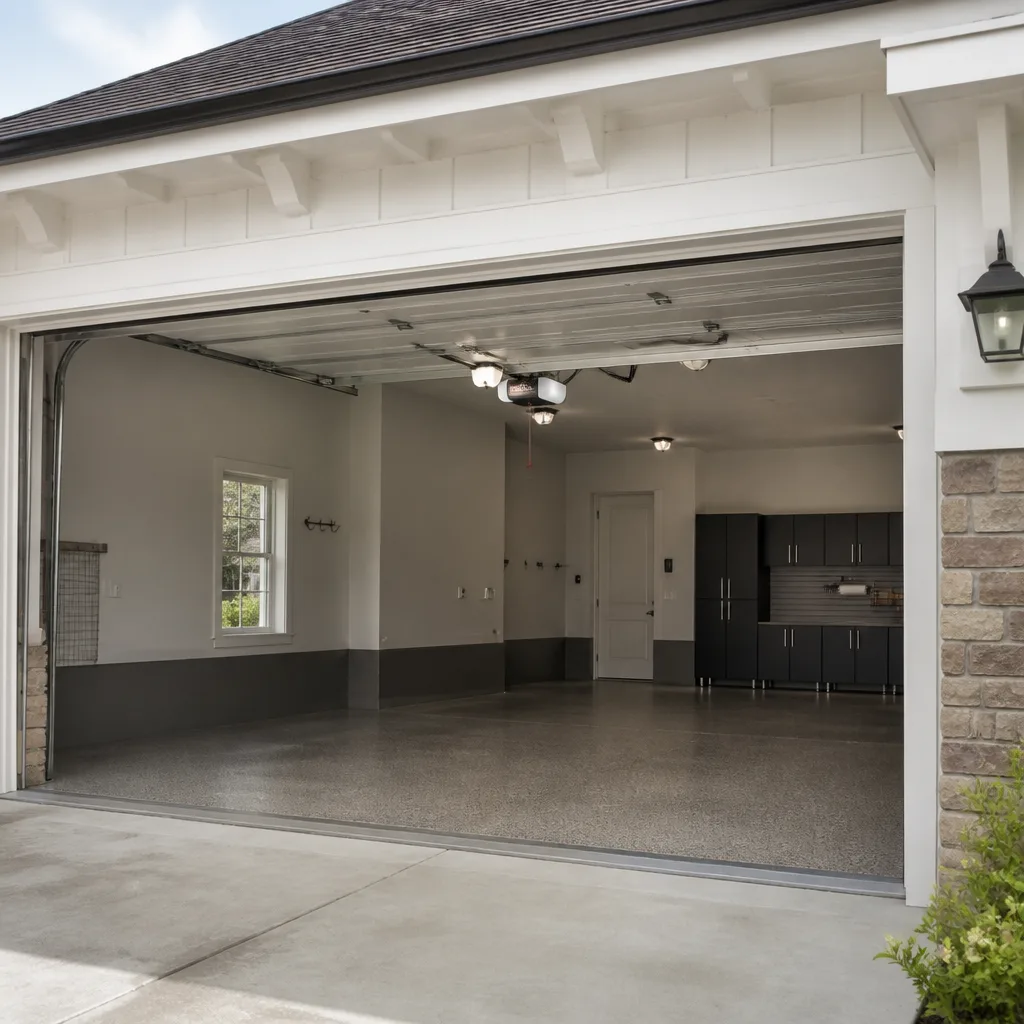
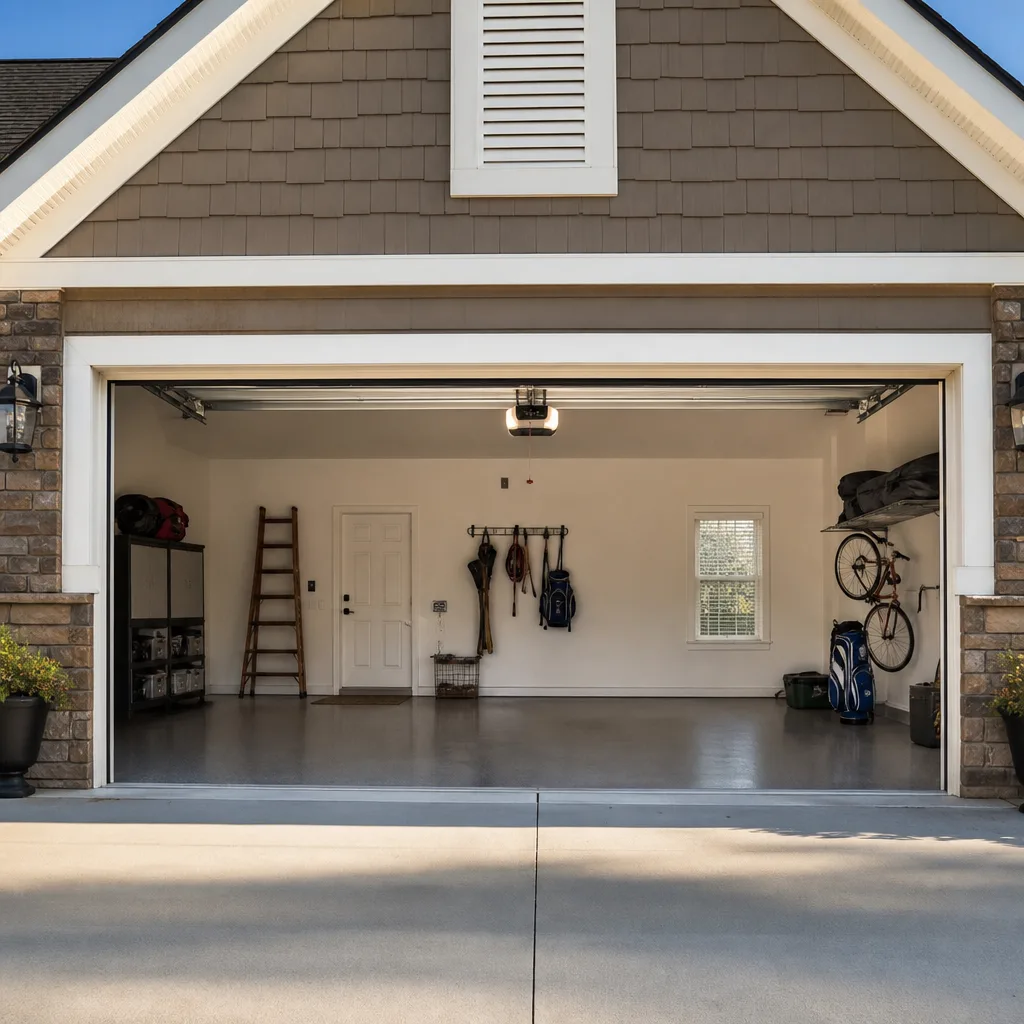
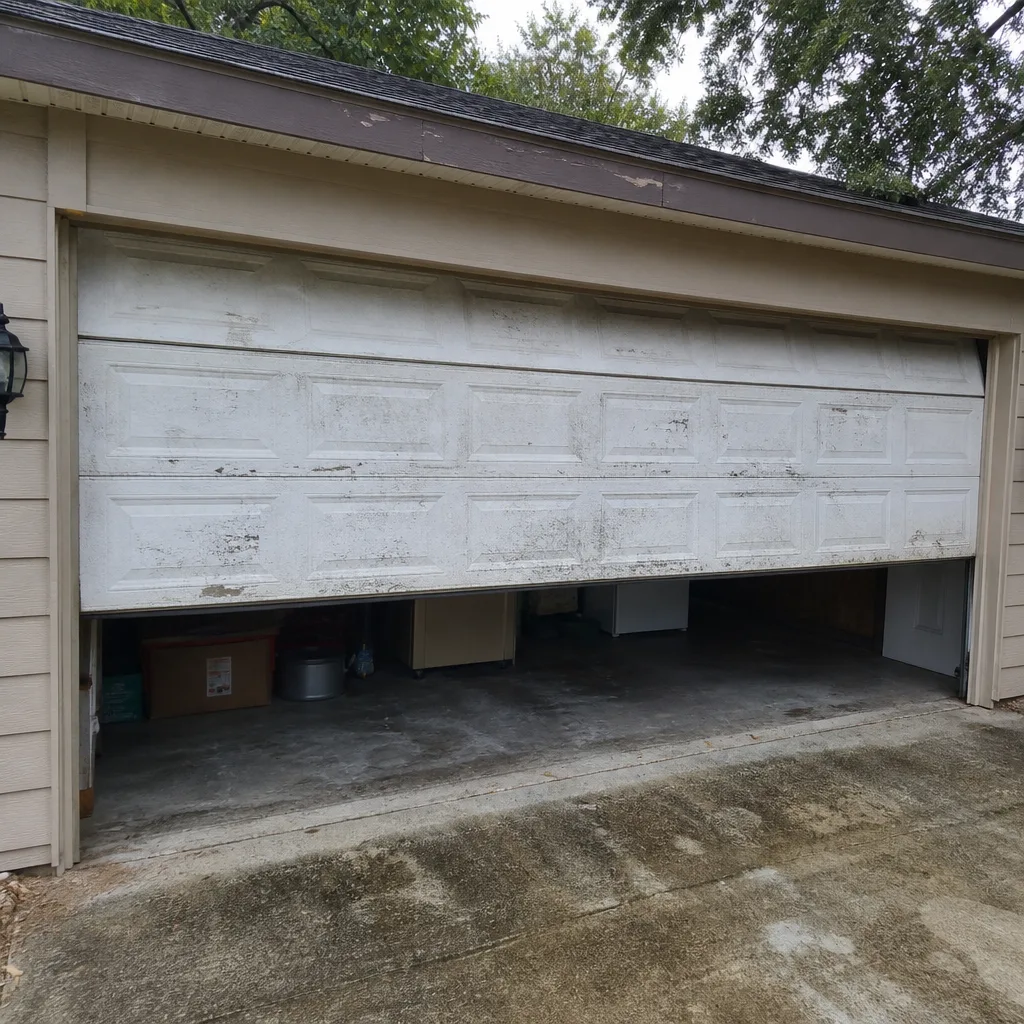 Before
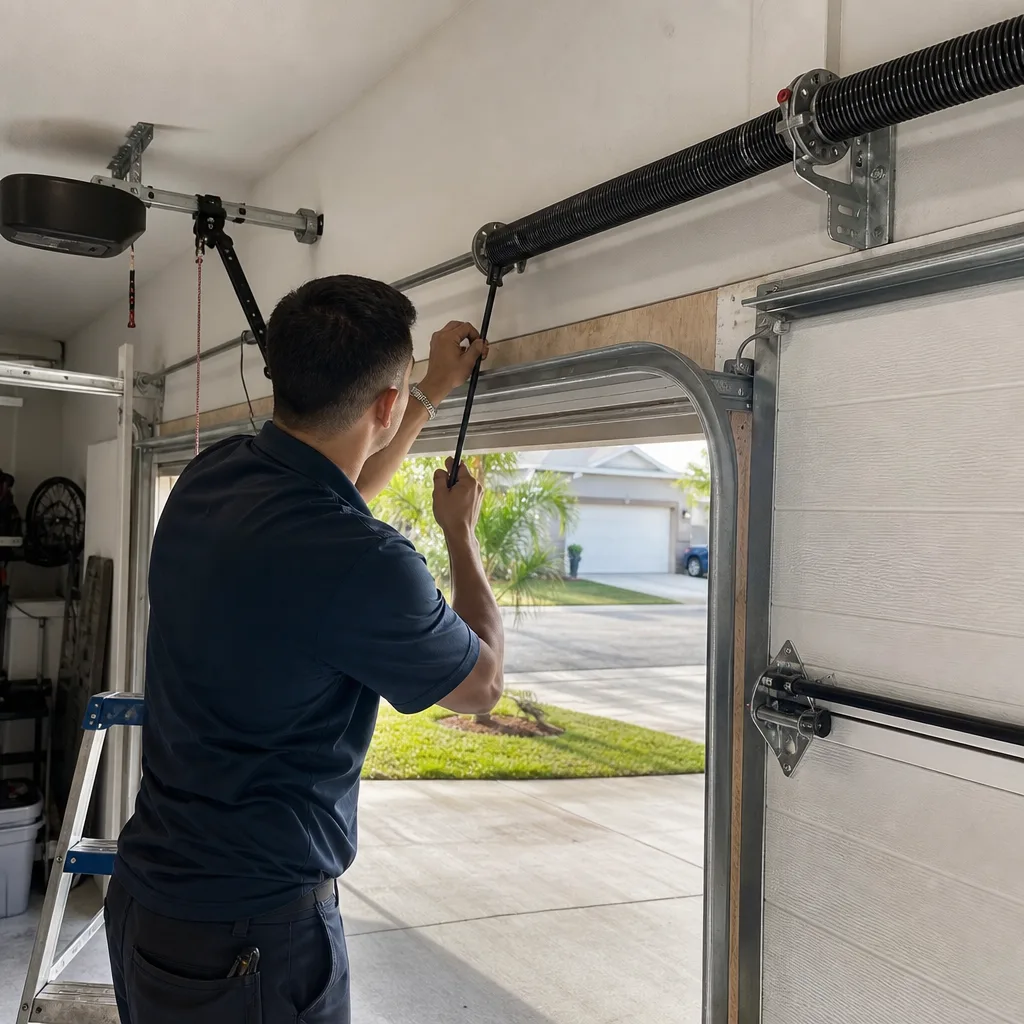 After
After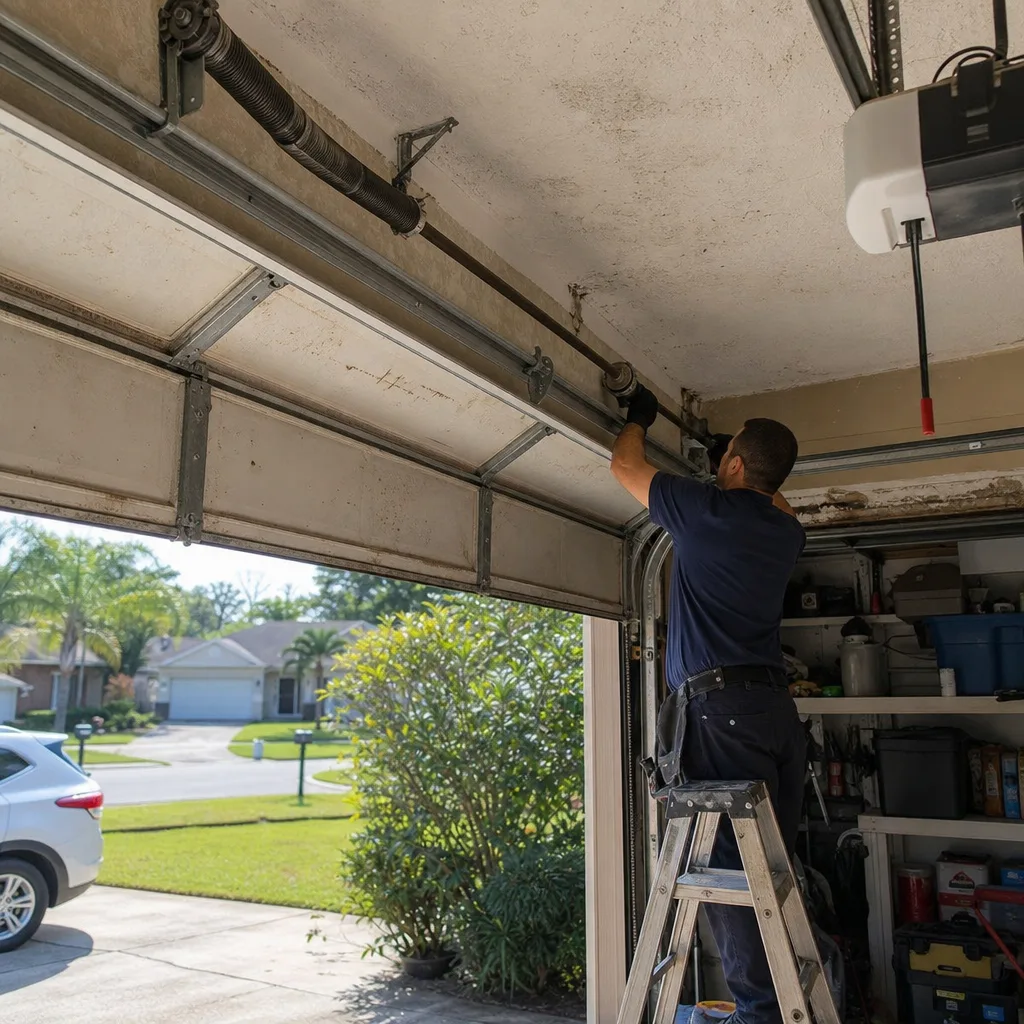 Before
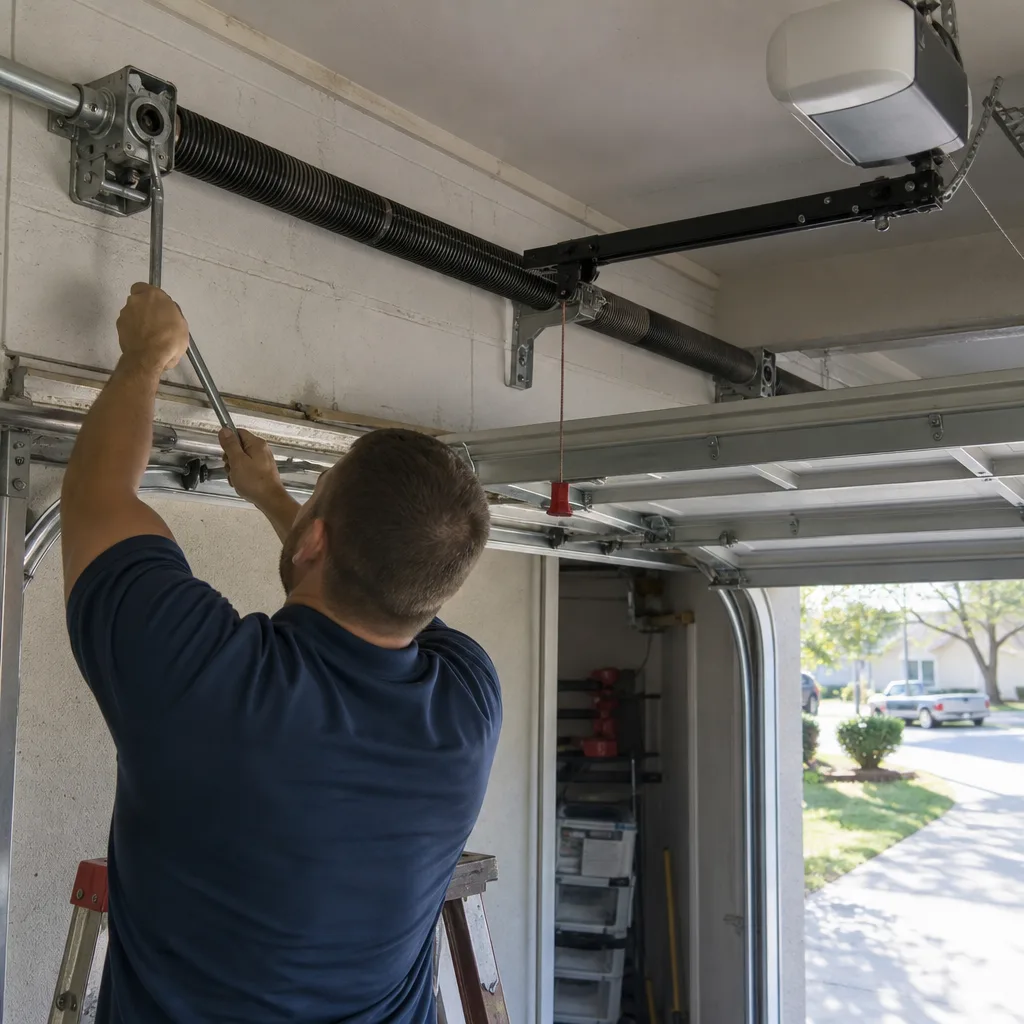 After
After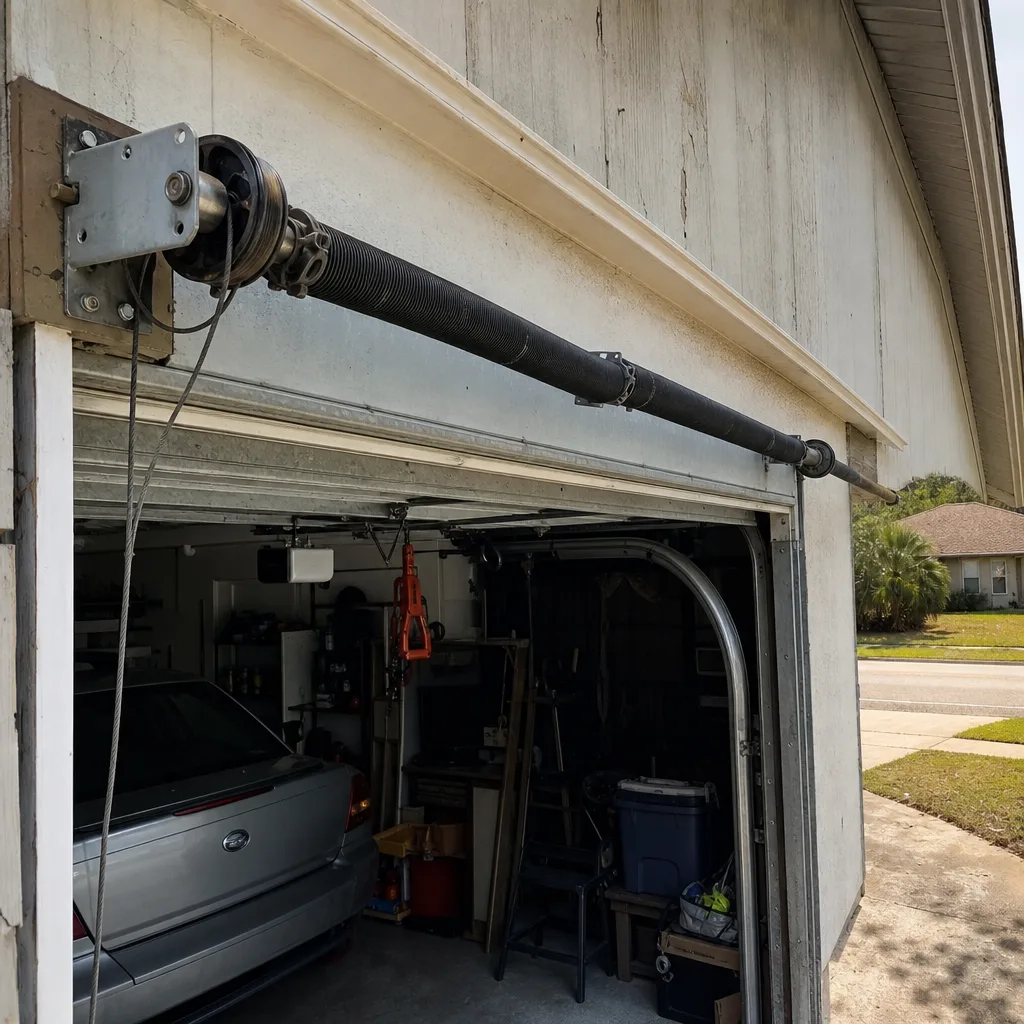 Before
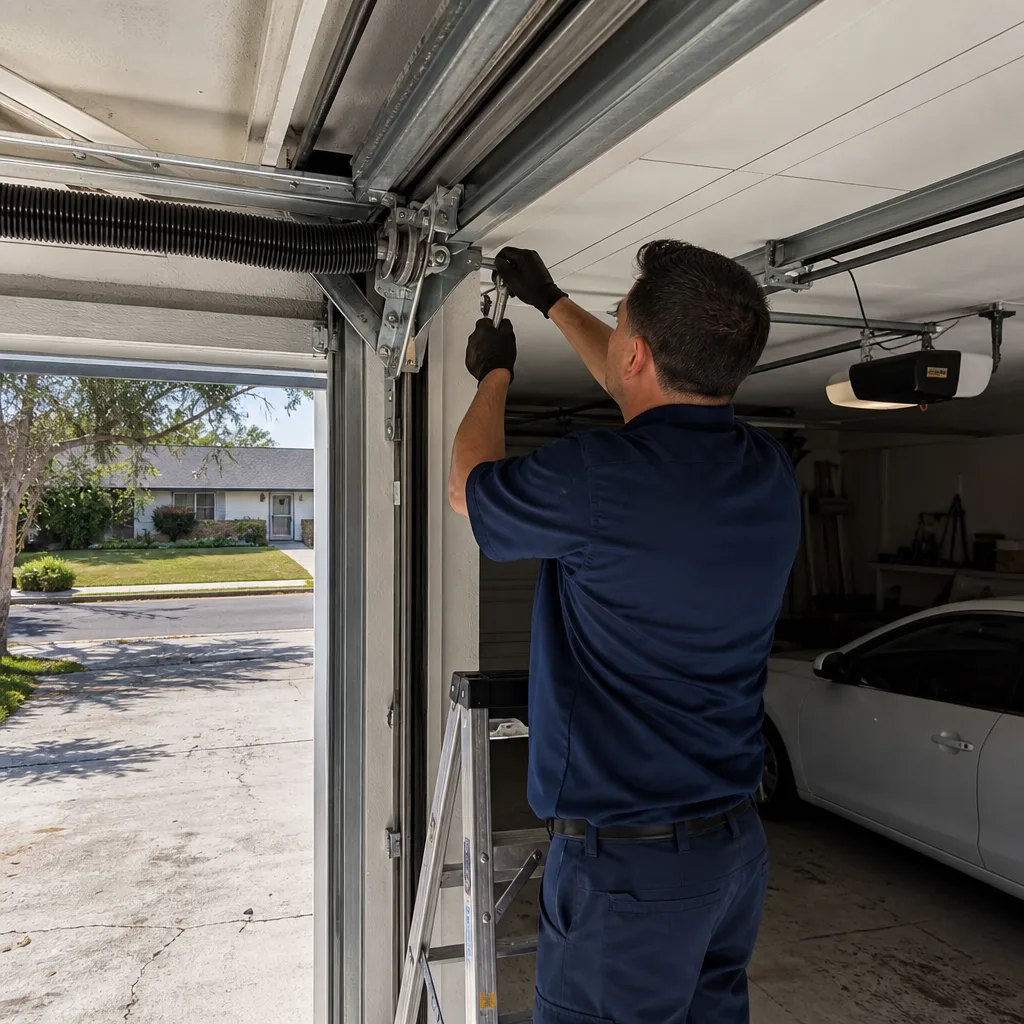 After
AfterDIY vs Professional Garage Door: The Brandon Homeowner’s Decision Guide
A torsion spring stores roughly 100 foot-pounds of torque when fully wound. That’s enough energy to break a forearm. The YouTube tutorials that show a homeowner winding springs with a drill instead of proper winding bars are demonstrating a technique that causes a documentable number of hand and facial injuries every year. The $200 you save is the variable. The injury risk is the constant. This guide draws the line at stored-energy components and gives you honest guidance on everything else, written from our shop floor in Brandon, Florida. For more guides & resources, visit our blog.
Quick Answer
In Brandon, the DIY-versus-professional decision on garage doors comes down to one question: does the repair involve stored energy? Torsion springs, extension springs, and lift cables are under enough tension to cause serious injury and should always be handled by a licensed professional. Nearly everything else – weatherstripping, remote programming, sensor alignment, lubrication, cosmetic dent repair – is reasonable homeowner territory if you have basic tools and patience.
Table of Contents
- The Stored-Energy Line: What It Is and Why It Matters
- Component-by-Component: What’s Safe to DIY and What Isn’t
- Tools and Knowledge: What the Safe Jobs Actually Require
- Florida-Specific Considerations: Licensing, Permits, and Code
- Honest Cost Comparison: What You Actually Save
- What to Photograph and Document Before Any DIY Attempt
- How Brandon’s Climate Affects Your Garage Door Decisions
BeforeAfterThe Stored-Energy Line: What It Is and Why It Matters
Most garage door repair advice online reads like a liability disclaimer wrapped in a tutorial. It tells you springs are dangerous without explaining why, which leaves you without a framework for evaluating all the other components. Here is the framework we use in Brandon: every garage door component falls into one of two categories. It either stores mechanical energy under tension, or it doesn’t.
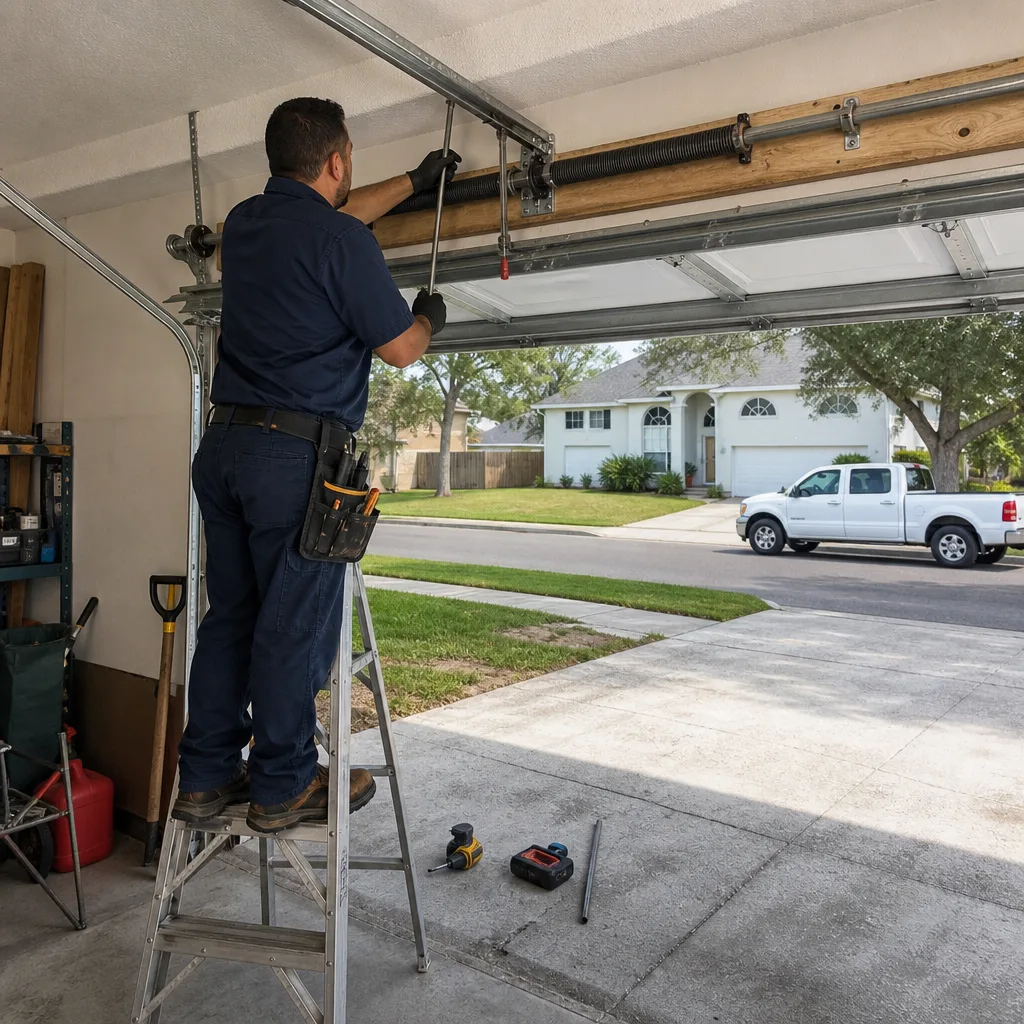
A torsion spring is wound to counterbalance the weight of your door. A typical 16-foot steel door in Brandon weighs between 180 and 250 pounds, and the spring system is wound to hold roughly that much force. When the spring breaks, that energy releases instantly. When a person is winding or unwinding a spring and the bar slips, the energy releases into whatever is holding the bar – usually a wrist, forearm, or face. Extension springs are different in design but identical in risk: they stretch under load, and when a cable fails, the spring recoils with enough force to remove fingers.
Lift cables carry the door’s weight through pulleys. When a cable snaps under load, it whips. The phrase “cable whipping” shows up in OSHA incident reports. These are the three components that sit firmly on the professional side of the line: torsion springs, extension springs, and lift cables.
Everything else on a garage door is either low-force, gravity-held, or electrically isolated. That’s the honest dividing line. It’s not about talent or patience. It’s about whether a mistake can hurt you.
Component-by-Component: What’s Safe to DIY and What Isn’t
Here is the full list, with the mechanical reason for each classification. This is the section most guides skip.
Not Safe for Homeowner DIY
- Torsion springs – Wound under 90 to 140 foot-pounds of torque depending on door weight. Requires winding bars, correct wire diameter match, and calibrated winding count. A wrong count leaves the door unbalanced and dangerous.
- Extension springs – Stretched under load. Requires safety cables through the spring core before removal or installation. If the safety cable is absent and the spring releases, it becomes a projectile.
- Lift cables – Under the full weight of the door. Cutting or loosening the wrong cable first transfers the entire load to one side, which twists the door and can pull the track off its mounts.
- Bottom bracket replacement – The bottom bracket anchors the lift cable. Removing it means releasing cable tension first, which loops you back into the lift cable problem.
Safe for Homeowner DIY (with basic competence)
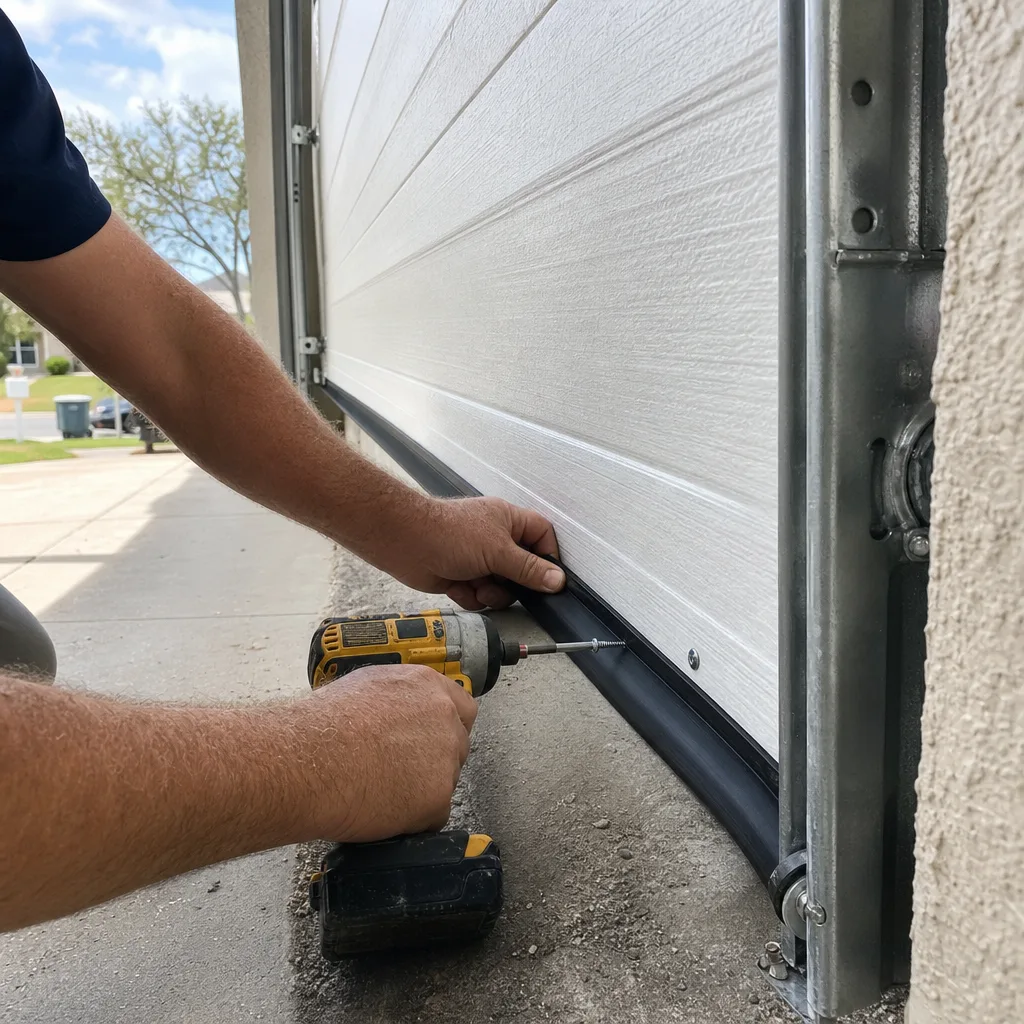
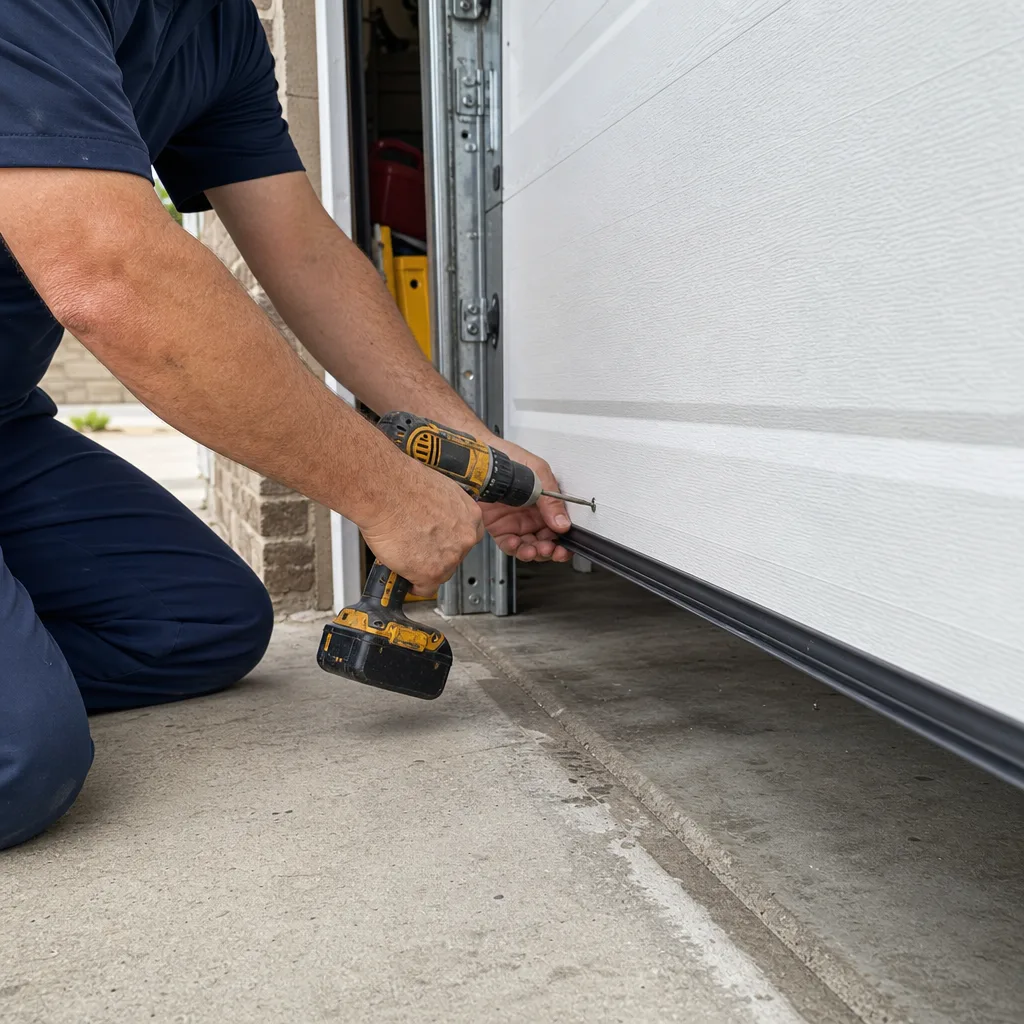
- Weatherstripping and bottom seal replacement – No stored energy. The old seal slides out of a channel, the new one slides in. Takes 20 minutes with a utility knife and a flathead screwdriver.
- Safety sensor alignment and cleaning – The photo eyes near the floor send an infrared beam. Misalignment blocks the beam and the opener refuses to close. Cleaning the lens or nudging the sensor until the indicator light goes solid fixes the majority of these calls. Low voltage, no tension.
- Remote control and keypad programming – Follows the opener’s manual. This is button-sequence work on a ladder. No panel removal, no spring contact.
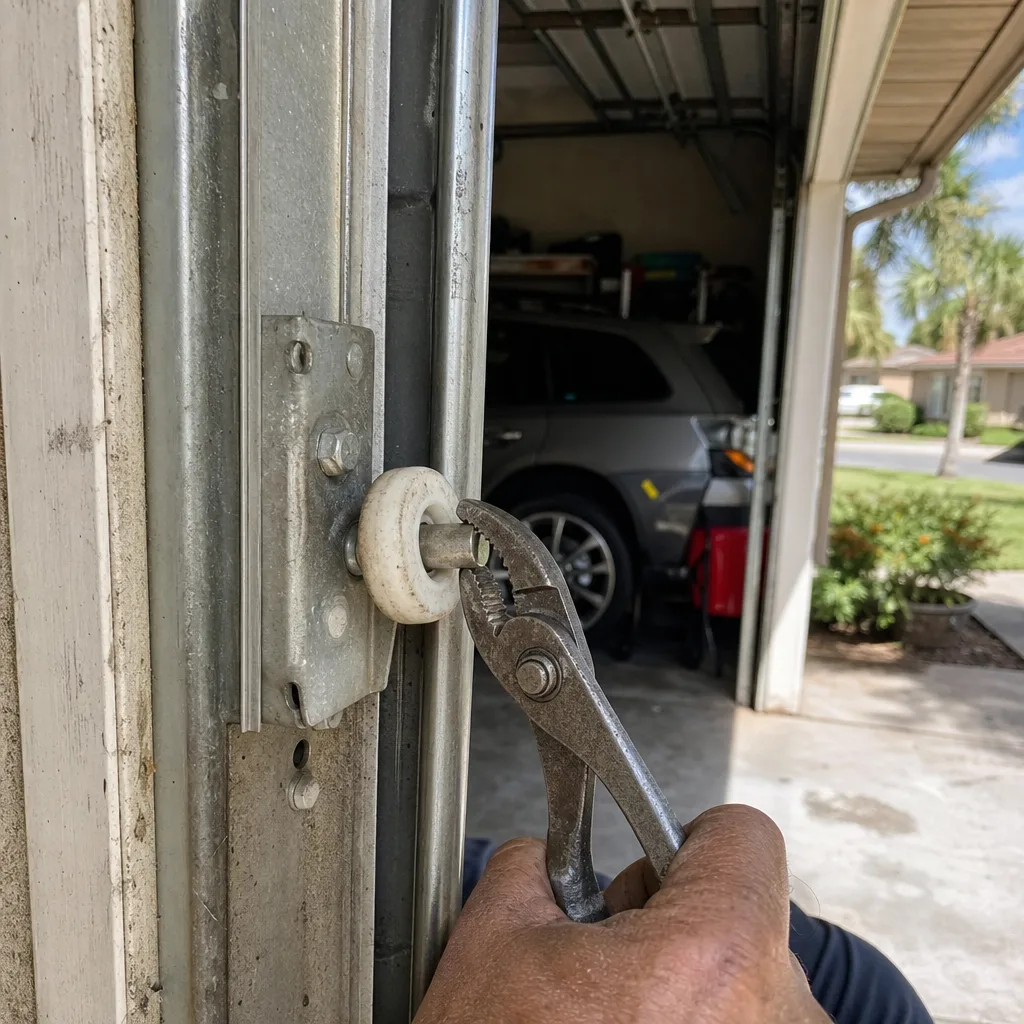
- Track lubrication – White lithium grease on hinges and rollers, never the track itself. The track should stay dry. Lubricating the track attracts Florida dust and creates paste that slows the door.
- Cosmetic panel dent repair – For steel doors, boiling water and a plunger can pop shallow dents. For deeper creases, an auto-body dent puller works. This is body work on the door face, not structural repair. The panel stays functional.
- Opener reprogramming after a power surge – Hold the learn button, erase the codes, re-sync remotes. The logic board handles this without any other component needing to move.
Tools and Knowledge: What the Safe Jobs Actually Require
The gap between “safe to DIY” and “actually worth DIYing” is tool cost and time. Here is what the safe jobs require so you can price them honestly against a service call in Brandon.
Weatherstripping Replacement
- Tools: utility knife, flathead screwdriver, tape measure, replacement seal. Total cost if you own none of it: $35 to $60.
- Knowledge required: knowing the difference between T-channel and P-channel bottom retainers. Brandon homes built after 2005 generally use T-channel. Older Bloomingdale and Valrico homes sometimes have the P-channel style, which means the seal slides over a lip rather than into a slot.
- Time: 30 minutes, including cleaning the channel before install.
Safety Sensor Alignment
- Tools: a level, a small wrench or socket set, a rag. Total cost if you own none of it: $20 to $40.
- Knowledge required: reading the indicator light. A solid green light and a solid or flickering amber light means the beam is receiving. Anything else means misalignment or wiring. Most Brandon service calls for “the door won’t close” are a leaf or a cobweb on the sensor lens.
- Time: 15 to 45 minutes depending on how stubborn the bracket is.
Remote Programming
- Tools: a step ladder and the opener’s manual. If the manual is gone, the model number is on the opener head and the manual is a free PDF from LiftMaster, Chamberlain, or Genie.
- Knowledge required: locating the learn button (usually under the light cover), pressing it once, and pressing the remote button within 30 seconds. Repeat for keypads.
- Time: 10 minutes per remote.
The safe jobs are genuinely accessible. The point of listing the tool cost is not to discourage you. It’s to make the comparison against professional pricing honest. When a Brandon homeowner tells us they’d rather do the weatherstripping themselves, the math usually supports them. When they tell us they’ll handle the springs, that’s when we have a longer conversation.
Florida-Specific Considerations: Licensing, Permits, and Code
Florida’s contractor licensing law is specific about garage door work, and Brandon sits in Hillsborough County, which adds its own layer. Here is what applies to the DIY decision.
Under Florida Statute 489, garage door installation and repair is a licensed trade. A homeowner may perform work on their own primary residence without a contractor’s license, but that exemption does not extend to building permits. Most garage door repairs – springs, cables, openers, panels – do not require a building permit in unincorporated Hillsborough County or within Brandon city limits. See Garage Door Permits, Codes & Inspections in FL: What You Need to Know for the full picture. The work falls under “ordinary repairs” in the Florida Building Code.
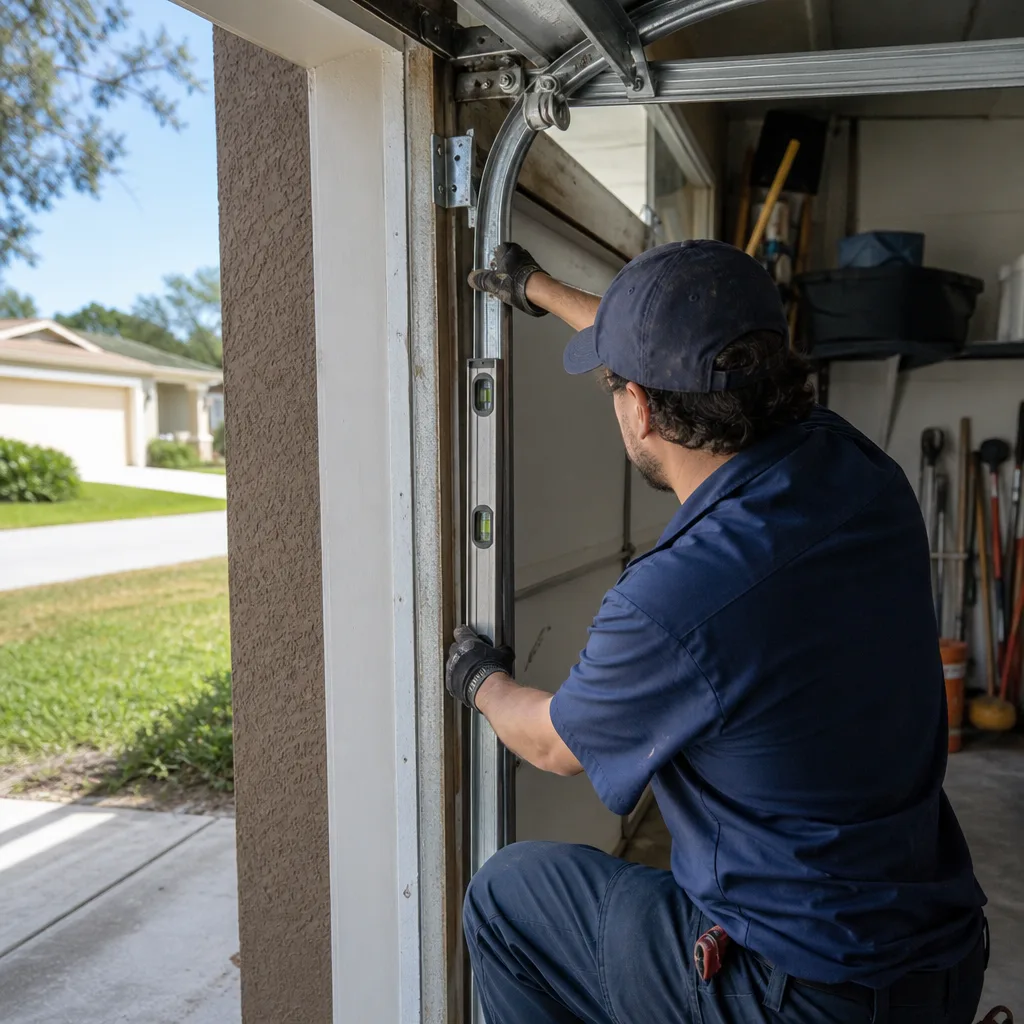
The exception is a full door replacement that alters the opening size or structural header. If you’re keeping the same rough opening and swapping one sectional door for another, no permit is required. If you’re enlarging the opening, adding a new header beam, or converting from two single doors to one double door, that’s a structural change and requires a permit and likely an engineer’s letter. A professional is doing that job anyway; the permit follows the project.
Wind load is the Florida-specific variable most national guides miss. The Florida Building Code requires garage doors in the Tampa Bay wind zone to meet specific design pressure ratings, and Brandon’s inland location puts it in a lower wind zone than coastal Pinellas, but the requirement still exists. When a homeowner installs a door themselves and it fails the wind load rating, the insurance claim after a storm gets complicated. A licensed garage door contractor in Brandon is required to install doors that meet the design pressure rating for the address. That documentation matters when you file a claim.
The practical takeaway: homeowner self-performance is legal for repairs and same-size replacements. It is not legal for structural modifications. And wind load compliance is a real insurance consideration, not a technicality.
Honest Cost Comparison: What You Actually Save
The DIY savings math gets distorted by optimism. Here are the honest numbers for the borderline cases, priced for Brandon’s market in 2026. For a detailed breakdown, see our Garage Door Cost Breakdown: The Brandon Homeowner’s Reference for 2026.
Safety Sensor Replacement
DIY cost: Replacement sensors run $25 to $50 online or at a big-box store. If the wiring is intact and you’re only swapping the sensor heads, you’ll spend 45 minutes and $40. Professional cost in Brandon: $120 to $185, including the sensor pair, the trip charge, and the 15-minute install. You save: roughly $80 to $140. Fair DIY candidate if the wiring is good and you’re comfortable on a ladder.
Weatherstripping Replacement
DIY cost: $25 to $55 for the seal, 30 minutes of labor. Professional cost in Brandon: $95 to $160. You save: $40 to $105. This is the single best DIY job on the door. The downside risk is zero.
Opener Replacement
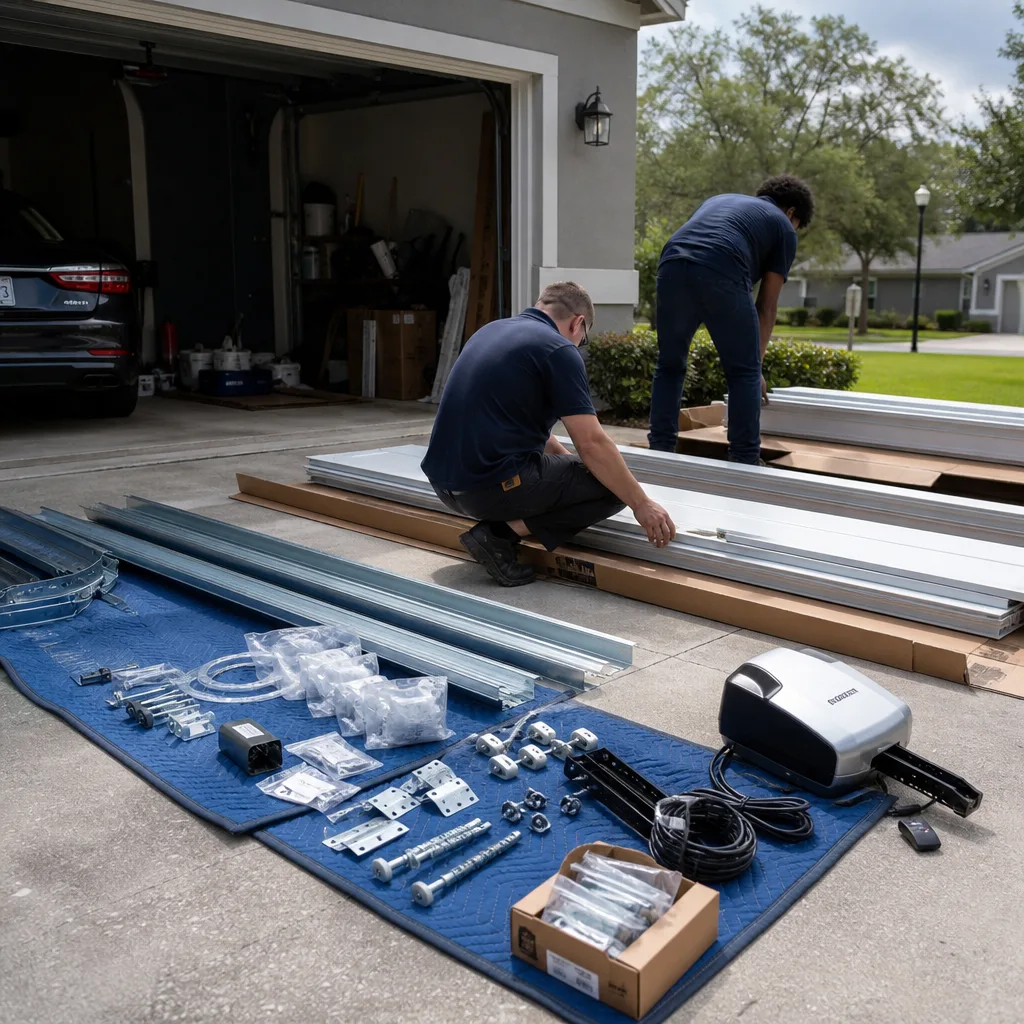
Here is where the math flips. DIY cost: A chain-drive opener from a big box runs $180 to $250. A belt-drive runs $230 to $320. Add rail assembly, angle iron mounting, wiring the wall console, routing the sensor wires, programming, and balancing the door to the new opener. Tools: drill, a socket set, a ladder, wire strippers, a level, and ideally a second person. If you own none of this, add $120 to $180. Realistic time: 4 to 6 hours for a first-timer working alone. Professional cost in Brandon: $650 to $950 for a belt-drive opener installed, which includes hauling away the old unit, adjusting the door balance, and setting travel limits correctly. You save: $300 to $400 on paper, but you’ve traded 5 hours of your Saturday and the install carries a real risk if the door balance test is skipped. A door that’s heaviest at the middle of travel strains the new opener, and that’s how openers die at year two instead of year twelve.
Our position on opener replacement is consistent with the way we quote every job in Brandon: we show you the written price before touching the opener, and Clause 1 of The Haven Standard means that price doesn’t move after we open the box. You can decide if your Saturday is worth the $350 difference.
Torsion Spring Replacement
DIY cost: A matched pair of torsion springs runs $60 to $120 online. The winding bars are $30 to $45. You’ll need a socket set, a vise grip, and ideally a second person. Professional cost in Brandon: $280 to $450 for a typical two-spring replacement on a standard 16×7 door, which includes the springs, the labor, the balance check, and a written warranty. You save: $200 to $300. You risk: an injury that starts with a 911 call and ends with a surgeon. The ER co-pay alone can exceed the $300 savings before the deductible applies. The math on springs is never actually about money. It’s about which side of the stored-energy line you want to stand on.
What to Photograph and Document Before Any DIY Attempt
This section exists because of how many Brandon homeowners start a repair, hit a complication, and call us mid-project. The first thing we ask is “what does it look like right now?” If you’ve documented the starting condition, we can often diagnose over the phone and give you a written estimate before we arrive.
Here is what to photograph before touching anything:
- The spring system, end to end. One photo from the center bracket looking left, one looking right. Include the spring coil count if you can count it. A broken spring has a visible two-inch gap in the coil; photograph that gap directly. Clause 4 of The Haven Standard is why every Servo visit includes a photo of the failed component before any quote is given – and you should hold yourself to the same standard before a DIY job.
- The cable path. Photograph where the cable runs from the bottom bracket up through the pulley and onto the drum. If the cable is frayed or off the drum, that photo tells us whether you need a cable, a drum, or both.
- The opener head and brand label. The model number is printed on the unit. A clear photo of that label means no-friction troubleshooting over the phone for programming or limit issues.
- The track mounting and any visible gaps between track and wall. If the door is banging on the way up, the track has moved. Photos from three positions along the track show us where.
- The door closed and the door open. The balance point tells a lot. Take both photos from straight on.
If the repair goes sideways, you send us these photos, and we give you a fixed, written price before dispatch. That’s the same standard we operate under on every call in Brandon: the written price and scope come before the work starts, per Clause 1 of The Haven Standard.
How Brandon’s Climate Affects Your Garage Door Decisions
Brandon is inland Hillsborough County, which means two things for garage doors that coastal guides ignore: humidity and afternoon thunderstorms.
The humidity accelerates wear on steel doors that lack a proper bottom seal. Water seeps under the seal during summer downpours, sits on the panel edges, and starts rust from the bottom up. Brandon homes with west-facing garage doors get the worst of it, because the afternoon sun heats the door and bakes moisture into the seams. We see rust at the bottom panel seam more often in Brandon than anywhere else we’ve worked. This makes weatherstripping replacement an annual or biannual maintenance item in this market, not an occasional one.
Lightning is the other Brandon-specific factor. Hillsborough County averages more lightning strikes per square mile than almost anywhere in the country. A direct or nearby strike kills opener logic boards. The symptom is consistent: the wall console works, the remotes work, but the door won’t move. That’s the logic board, not the motor. The power surge travels through the house wiring and lands on the PCB. Surge protectors on the opener outlet reduce but don’t eliminate the risk. This is also why we recommend unplugging the opener during August afternoon storms, which costs nothing and prevents a $180 to $320 repair.
For the DIY decision, climate matters because it changes the maintenance calendar. A homeowner who stays ahead of rust and surge damage spends less annually on professional repairs than one who reacts to failures. The weather is not a reason to DIY the dangerous stuff. It’s a reason to DIY the preventive stuff: seal checks before rainy season, lubrication in the fall when the humidity drops, and unplugging the opener before a storm.
Common Mistakes to Avoid
- Treating all springs as equivalent. Extension springs on older Brandon homes (pre-1990 construction in the Oak Park area and parts of Mango) are a different mechanism than torsion springs, and the safety procedure differs completely. Assuming one tutorial covers both is how injuries happen.
- Lubricating the track. The track should stay dry. Grease on the track collects dust, and Brandon’s dry-season dust is fine enough to become a grinding paste. Lubricate hinges, rollers, and the spring coils, never the track rail.
- Replacing only one spring. Springs wear in matched pairs. If one goes, the other is at the same fatigue point. Replacing one is the single fastest way to have the other fail within weeks, and it leaves the door unbalanced in the meantime.
- Using a drill to wind torsion springs. Winding bars exist because they give you a controlled, two-handed, square purchase on the winding cone. A drill is faster and dramatically more dangerous. The speed difference is not worth the injury.
- Forgetting the balance test after any repair. The test: disconnect the opener, lift the door to half height, and let go. If it drifts, the springs are not matched to the door’s weight. A drifting door strains the opener train and shortens its life.
- Buying the cheapest replacement sensors. Off-brand sensor pairs sometimes use incompatible frequencies with name-brand openers. A LiftMaster opener needs a LiftMaster-compatible sensor or it will refuse to close. Check compatibility before buying.
- Ignoring the rust line. A rust line along the bottom of the door panel is not cosmetic. It’s a load-bearing seam degrading. If you catch it early, a wire brush, rust converter, and paint buy you five more years. If you ignore it, the panel fails and you’re replacing the section.
When to Call a Professional
Call a professional when the repair involves torsion springs, extension springs, lift cables, bottom brackets, or any component that moves when the spring tension is released. Call when the door is off balance and you cannot lift it to half height with one hand. Call when you see frayed cables, a bent track, or a door that bounces on the way down. Call when the opener logic board is dead and the diagnosis isn’t obvious. And call if you started a repair and the door now sits in a state you didn’t intend. Garage Door Repair in Brandon covers all of these, and we photograph the failure before we quote the fix. Servo Garage Doors Brandon offers free estimates throughout the Brandon area. Call (656) 216-3212 and a live person answers.
Frequently Asked Questions
Yes. Under Florida Statute 489, a homeowner may perform garage door repairs on their own primary residence without a contractor’s license, and most repairs qualify as ordinary maintenance that does not require a permit. Structural changes that alter the door opening do require a permit and professional engineering. Garage Door Installation in Brandon covers full door replacement with wind-load compliance documentation.
A typical two-spring replacement on a standard 16×7 door in Brandon runs $280 to $450, including springs, labor, balance check, and written warranty. The DIY equivalent costs $90 to $165 in parts and tooling, but the injury risk is severe. Call (656) 216-3212 for a written quote before any work begins.
Weatherstripping replacement, safety sensor cleaning and alignment, remote and keypad programming, track lubrication, and cosmetic dent repair are all safe homeowner tasks with basic tools and low injury risk. None of these involve stored-energy components.
Hillsborough County’s lightning density kills opener logic boards through power surges traveling through house wiring. The symptom is a door that won’t move while the wall console and remotes still function. Unplugging the opener during August storms is the cheapest prevention. Garage Door Opener Repair & Installation in Brandon handles logic board diagnosis and replacement.
Both. Springs fatigue at the same rate, so a surviving spring is at the end of its service life and will fail soon. Replacing one leaves the door unbalanced, which strains the opener and shortens its life. A matched pair replacement is standard professional practice in Brandon.
At Servo Garage Doors Brandon, no. The written price and written scope are delivered before any work starts, and they don’t change after the door is opened up. That’s Clause 1 of The Haven Standard. Call (656) 216-3212 for a flat written estimate.
The Bottom Line
The DIY-versus-professional decision on a Brandon garage door is not a question of skill or grit. It’s a question of stored energy. Torsion springs, extension springs, and lift cables carry enough force to cause serious injury, and no amount of YouTube preparation changes the physics. Everything else on the door is fair territory for a homeowner who reads the manual, buys the right seal, and doesn’t grease the track. When the job crosses the stored-energy line, call a professional who puts the price in writing before the work starts. That’s the standard we’ve held since 2015, and it’s the one we recommend you hold every contractor to.
Written by Marcus Deller, Owner at Servo Garage Doors Brandon, serving Brandon since 2015.